Ben Nevis is the UK’s big one. The highest summit in the land and the undisputed heavyweight of British mountains. It is the King of the Highlands, the Clan Chief of the Munros, and the parent of every other peak on mainland Britain. It is, quite simply, The Ben.
Any winter mountain can make for a challenging ascent, and Ben Nevis can make for a challenging ascent at any time, so conquering Ben Nevis in winter is quite a prize.
If taking on Britain’s highest mountain is one of your winter plans, there’s every reason for you to give it a crack. This guide shares route and expert safety tips from our Gear Editor and qualified Mountain Leader, Ben Weeks, to help you summit Ben Nevis in winter.
How hard is climbing Ben Nevis in winter?
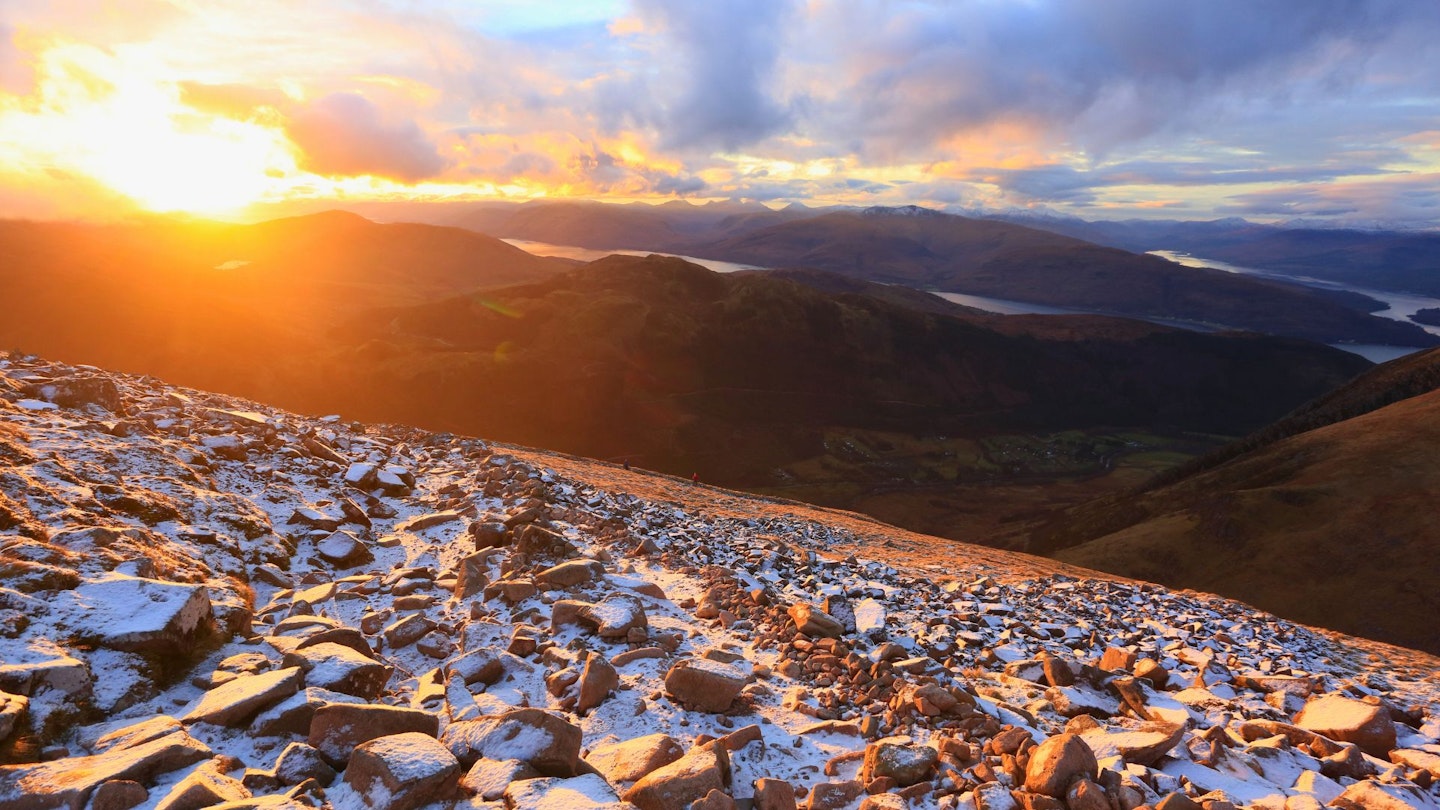
It's a superb challenge to set yourself. But you need to be flexible and realistic. Ben Nevis’s lofty top can hold snow almost all year round. Especially in winter, Big Bad Ben can be a brutal, unforgiving peak. This is why adjusting your plans according to the weather forecast is very important.
Roughly speaking, for every 100m you gain in altitude you lose 1°C in temperature. What this means in practice is that the summit of Ben Nevis can be around 10°C colder than the start of the path up it in Glen Nevis. And that’s before you factor in wind chill, which can easily take the perceived temperature well into the negative double digits.
Unless you score Ben Nevis on one of its very rare clear winter days, visibility on Ben Nevis can be very poor. And days are short in winter. Therefore, you need to know how to navigate with a map and compass, and have head torches available if caught out after dark.
None of this is written with the intention of discouraging you. Rather, we encourage the challenge. But it’s important to be aware of what can be in store at the top of the UK.

Can you do the Three Peaks in winter?
Yes you can, but naturally the Three Peaks are a far greater challenge in winter, and also more rewarding. Ben Nevis, Scafell Pike, and Yr Wyddfa (Snowdon) all take on very different winter personalities compared to their summer selves.
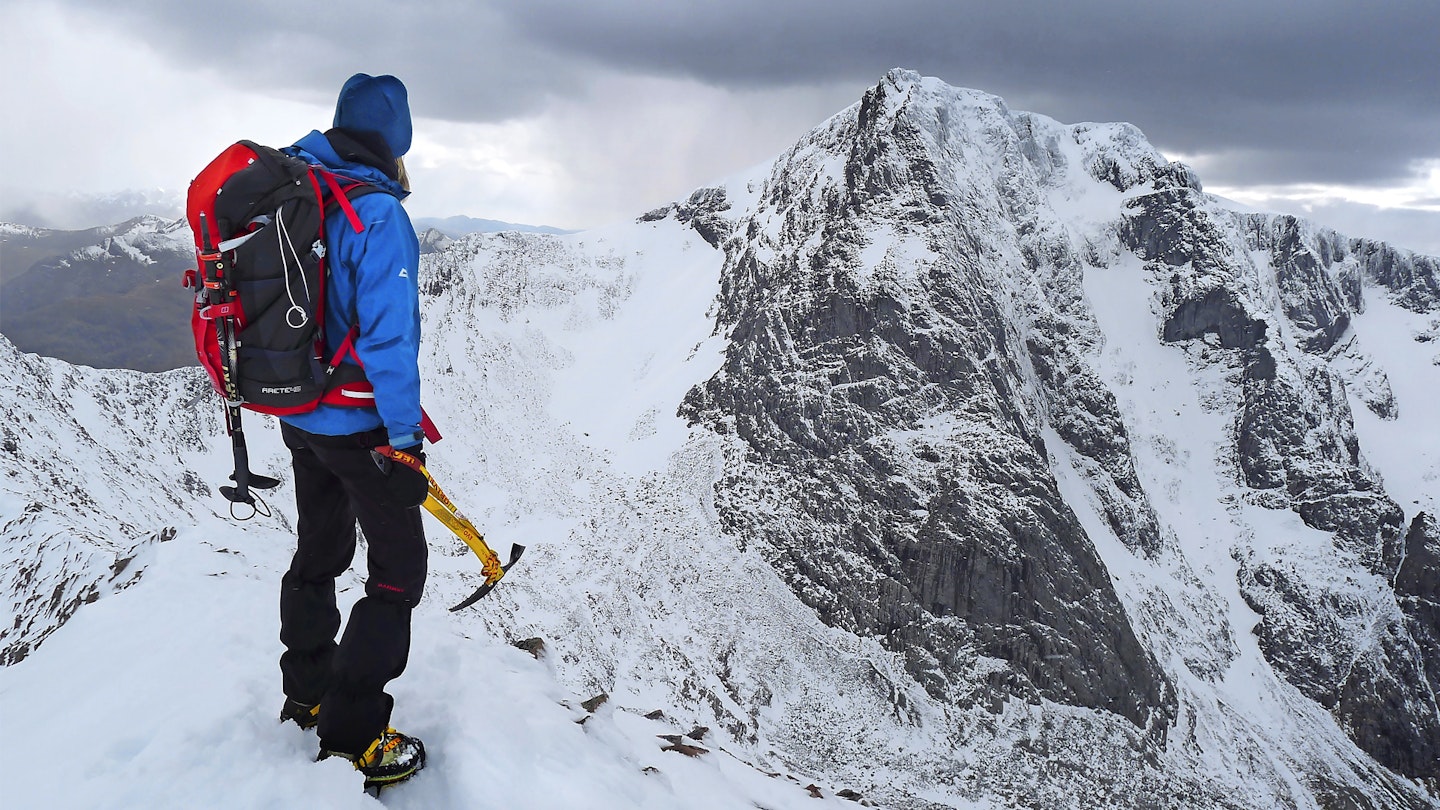
While snow and ice aren’t always prevalent on Scafell Pike and Yr Wyddfa in winter, full alpine conditions are common enough. But ice, deep snow, and cornices are common on the upper reaches of Ben Nevis throughout winter. These, in addition to reduced daylight hours influence not just appearances but also which route hikers should take.
With these drastic seasonal changes comes a need for winter-appropriate gear and skill set. It’s not just about carrying an extra jacket and hot thermos flask. It’s about being suitably prepared to wait in the cold for help in a worst case scenario. And you need to be capable of moving and navigating in winter mountain conditions – ideally, you’ll have done a winter skills course to sharpen these skills.
Best Ben Nevis winter route: The Mountain Track
CLICK HERE for a digital route guide in OS Maps
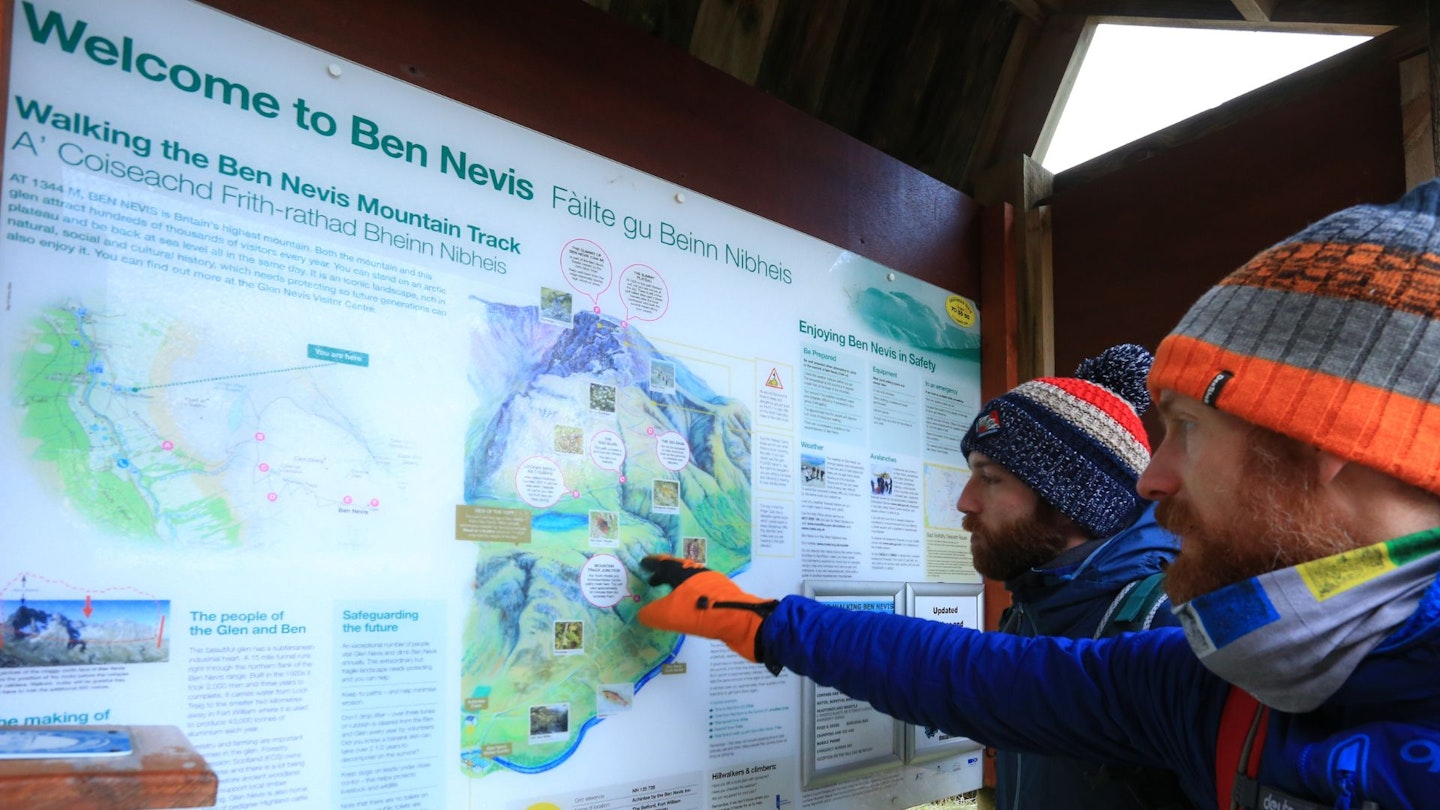
Start/finish: Glen Nevis Visitor Centre
Distance: 14.8km (9.2 miles)
Ascent: 1332m (4370ft)
Ben Nevis has a number of routes to the summit, including the incredibly scenic CMD Arête route. The Mountain Track route up Ben Nevis is generally regarded as the easiest and is often referred to as the ‘Tourist Track’ or ‘Pony Track’. The latter has some grounding. Around the beginning of the 20th century there was a hotel and observatory on the summit of Ben Nevis. This track was constructed to allow ponies carrying building materials and supplies to reach the top.
The Tourist Track moniker is a less fitting one. Yes, the gradually ascending back and forth path that climbs the western flank of Ben Nevis is the route used by most visitors to the mountain. But it is not without its difficulties. It can get covered with ice and buried by snow, and the weather can be brutal.
It is for this reason that this route was properly designated as the ‘Mountain Track’ around 2004, to prevent the unwary, unprepared and under equipped from venturing up what they might consider to be an easy-going tourist trail.
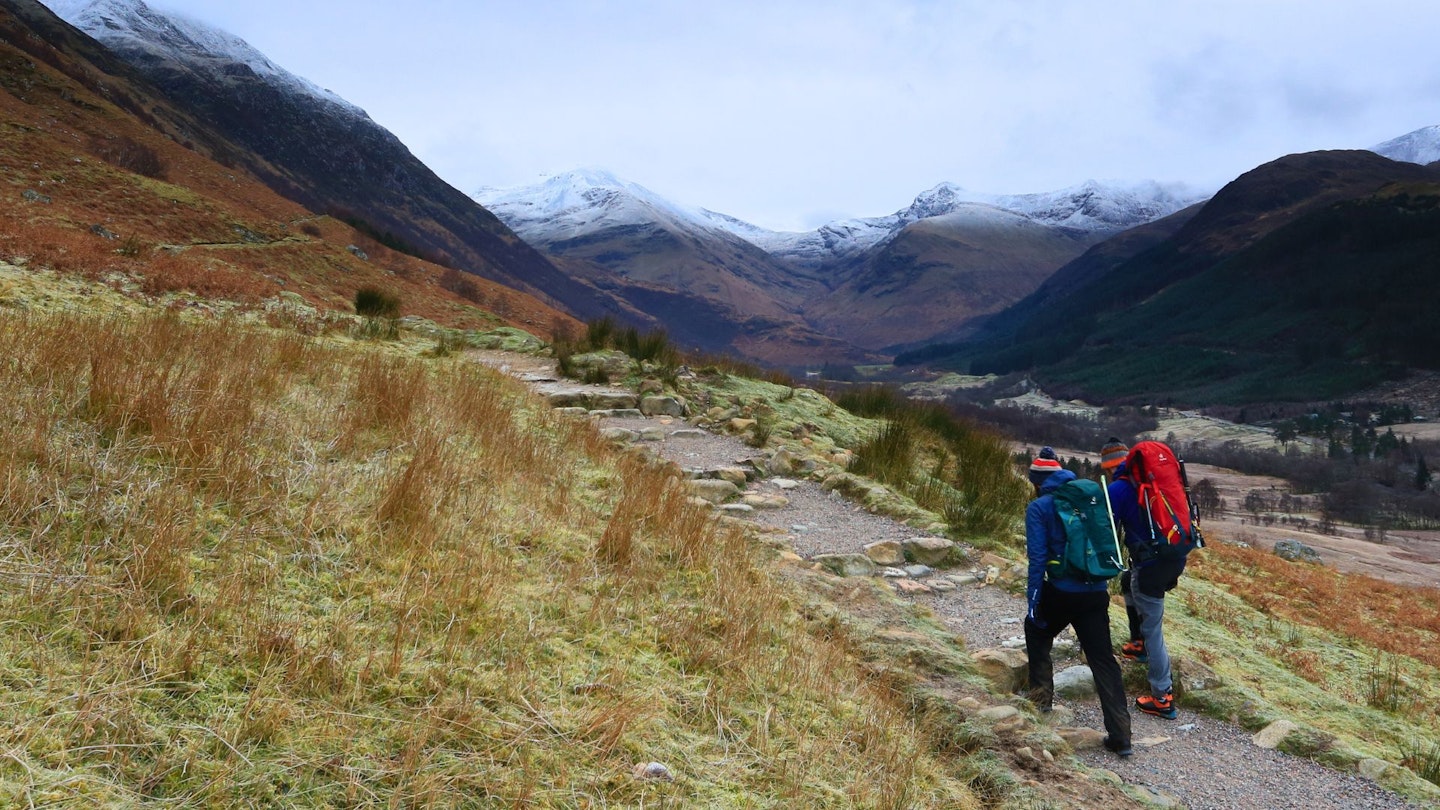
From The carpark/ Visitor Centre, the conditions may be deceptive and far milder than the often cloud-obscured upper slopes of Ben Nevis.
The Mountain Tracks begins easily – cross the footbridge and follow the path to join the start of the Mountain Track near the Ben Nevis Inn. The ascent is gradual as it climbs up the hillside.
Following the path southeast, the gradient steepens and as working muscles generate more heat, the transition from comfortably cool to uncomfortably warm is rapid. Time for your layering system to kick into action.
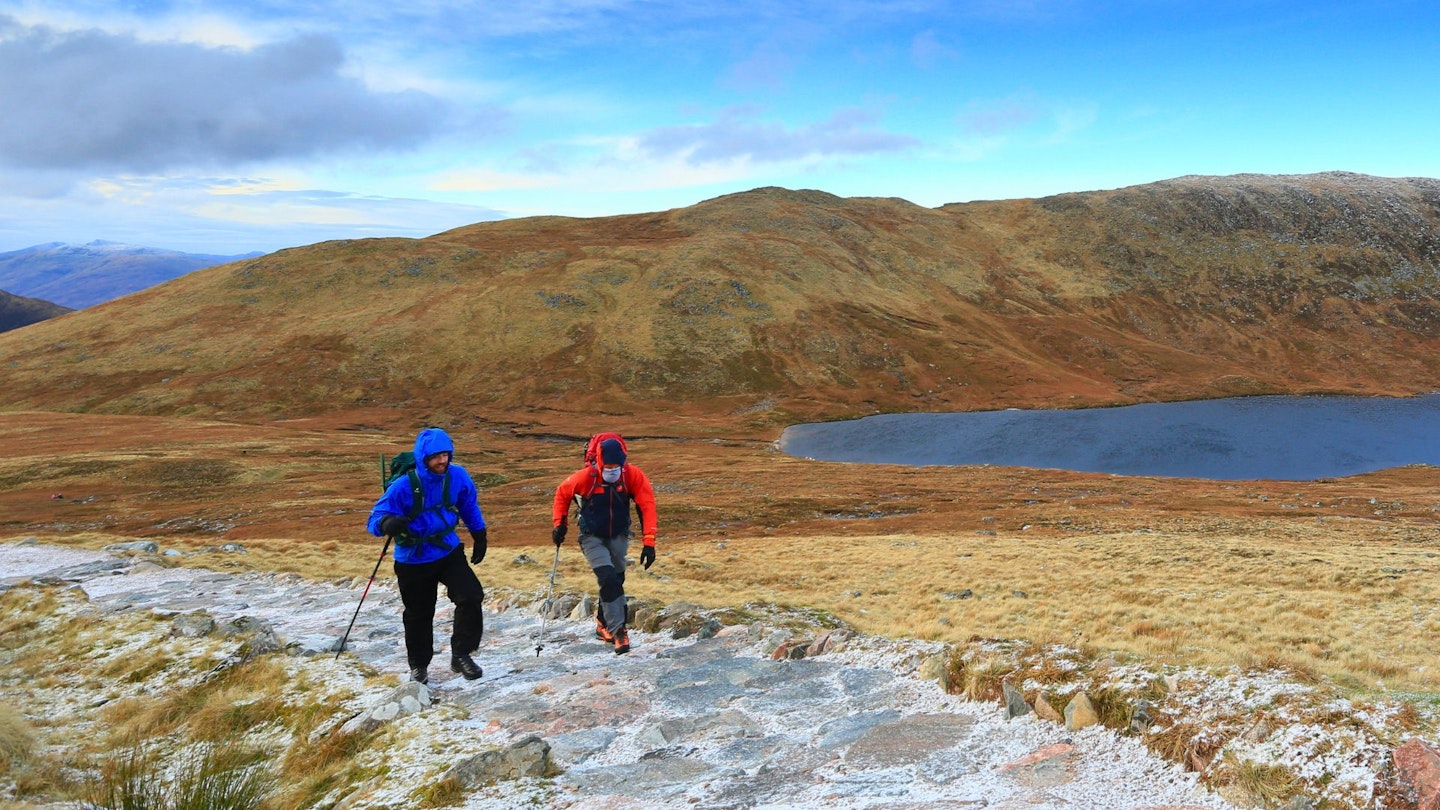
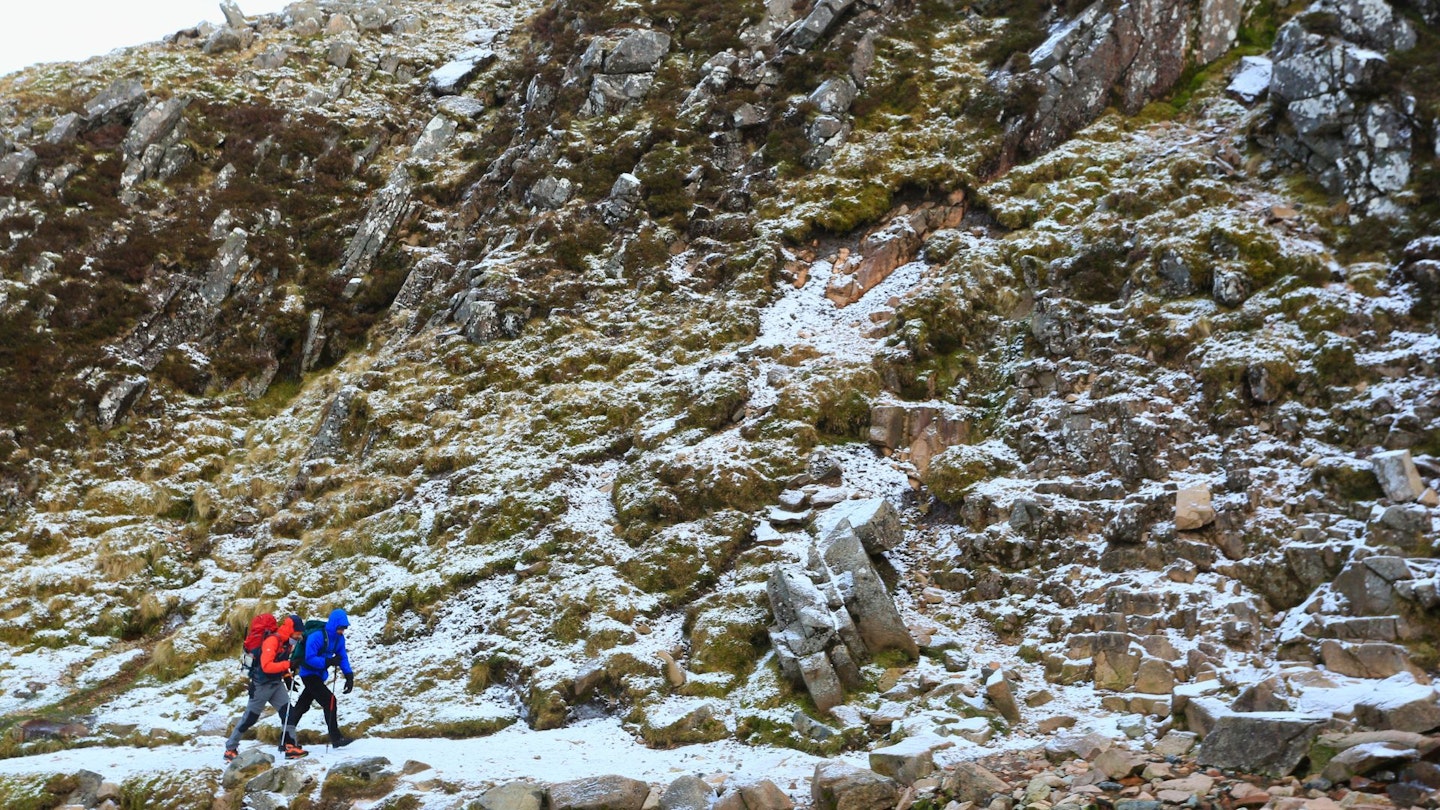
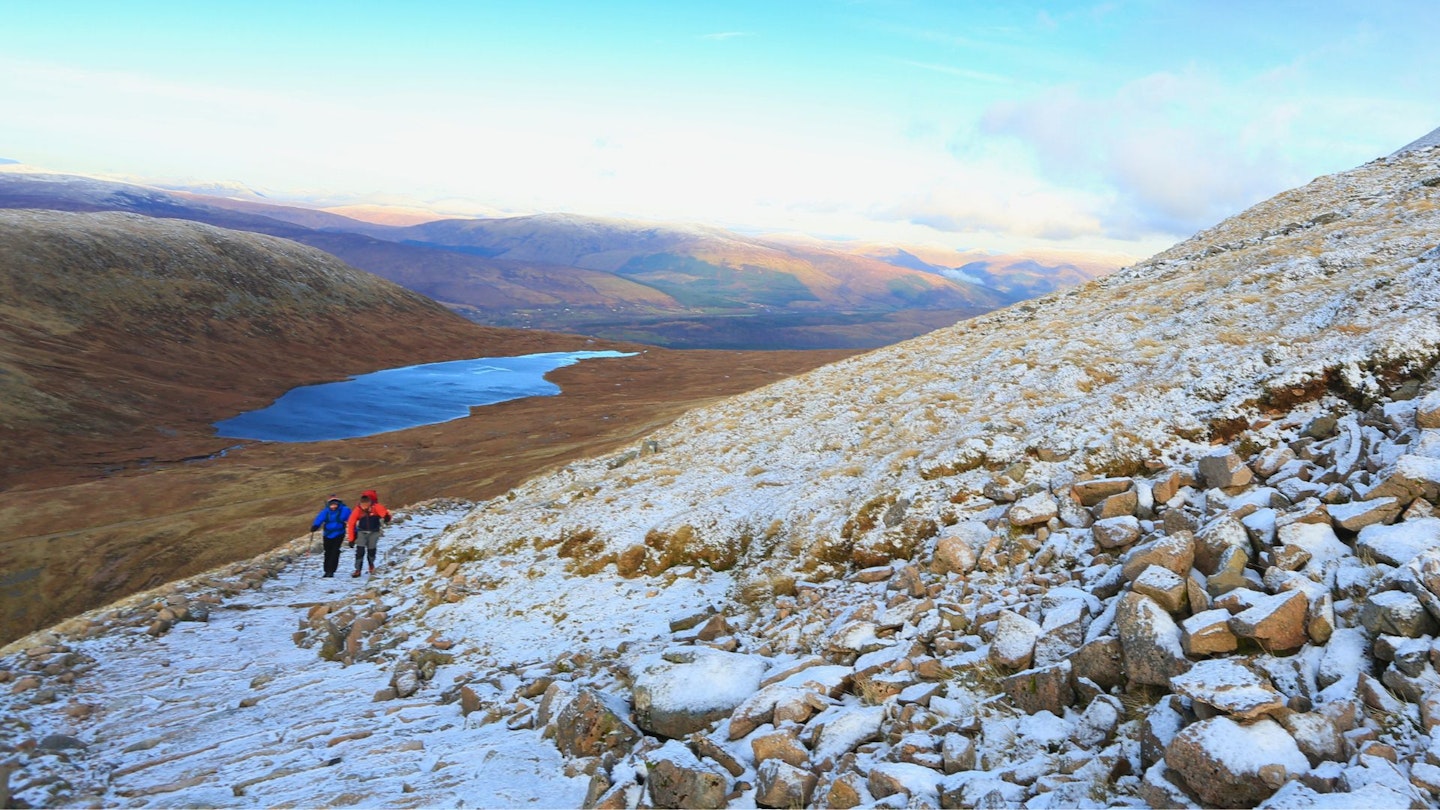
As the Mountain Track swings parallel to Red Burn it steepens further still. Soon after Red Burn, Lochan Meall an t-Suidhe comes into view and if Ben Nevis is going to give you any advance indication of summit conditions, here is where you’ll begin to feel it.
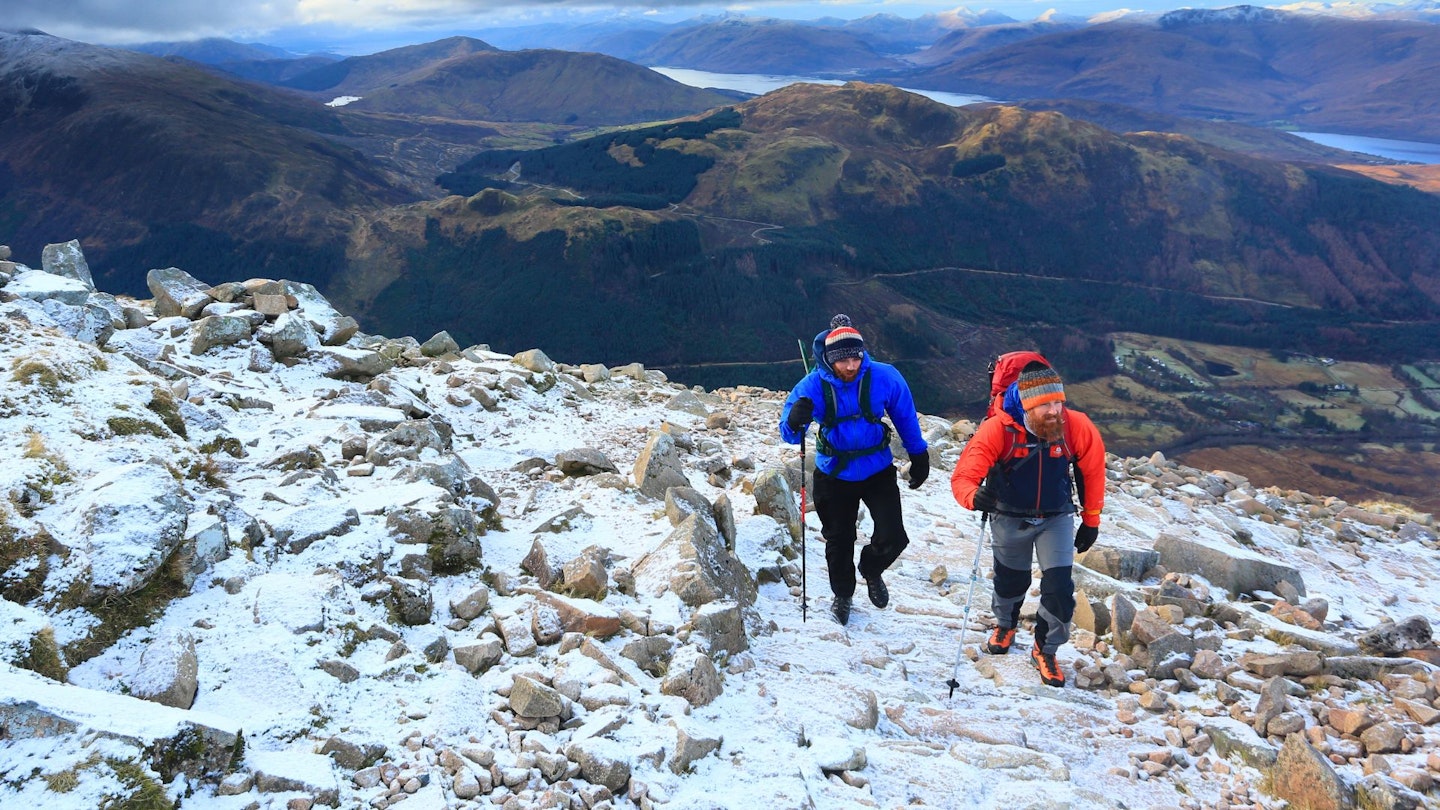
For example, an Arctic north-easterly wind may pounce. The slopes graduate from dark brown to white – the transition from earth and rock to snow and ice. The stone pitch path beneath becomes slick with ice. Combined with a wicked wind, you need to be very careful.
Leaving Lochan Meall an t-Suidhe below, the path that covers the 780 vertical metres from the lochan to the summit heads first south, then east, climbing via a series of zigzags. The stone path is often damp, and therefore in sub-zero temperatures often icy, meaning you may benefit from crampons before you reach the snow.
About halfway up the zigzags the ice often relents to fresh snow. Gaining height and leaving the zigzags, heading for the summit, snow can easily cover all traces of the path and some classic navigation comes into play.
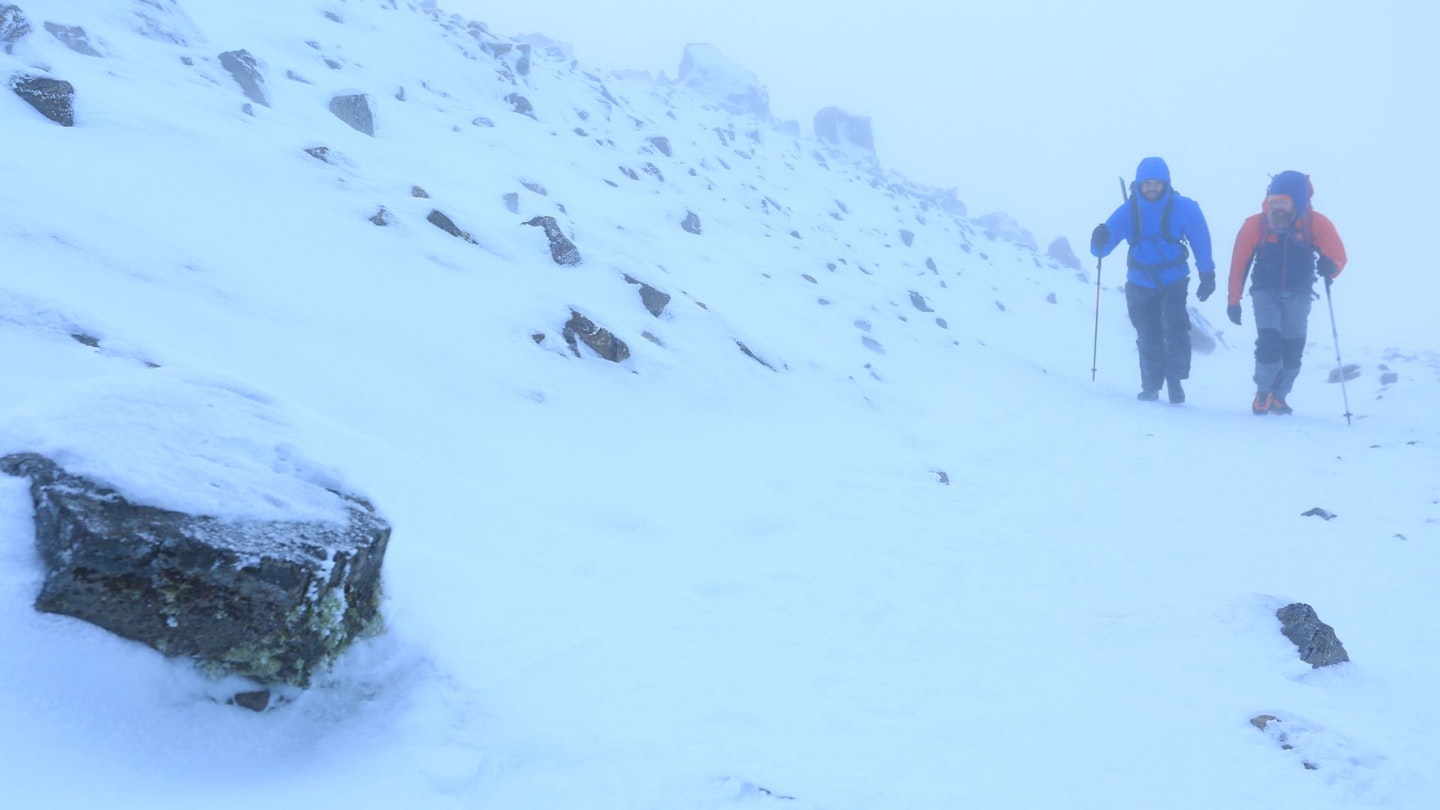
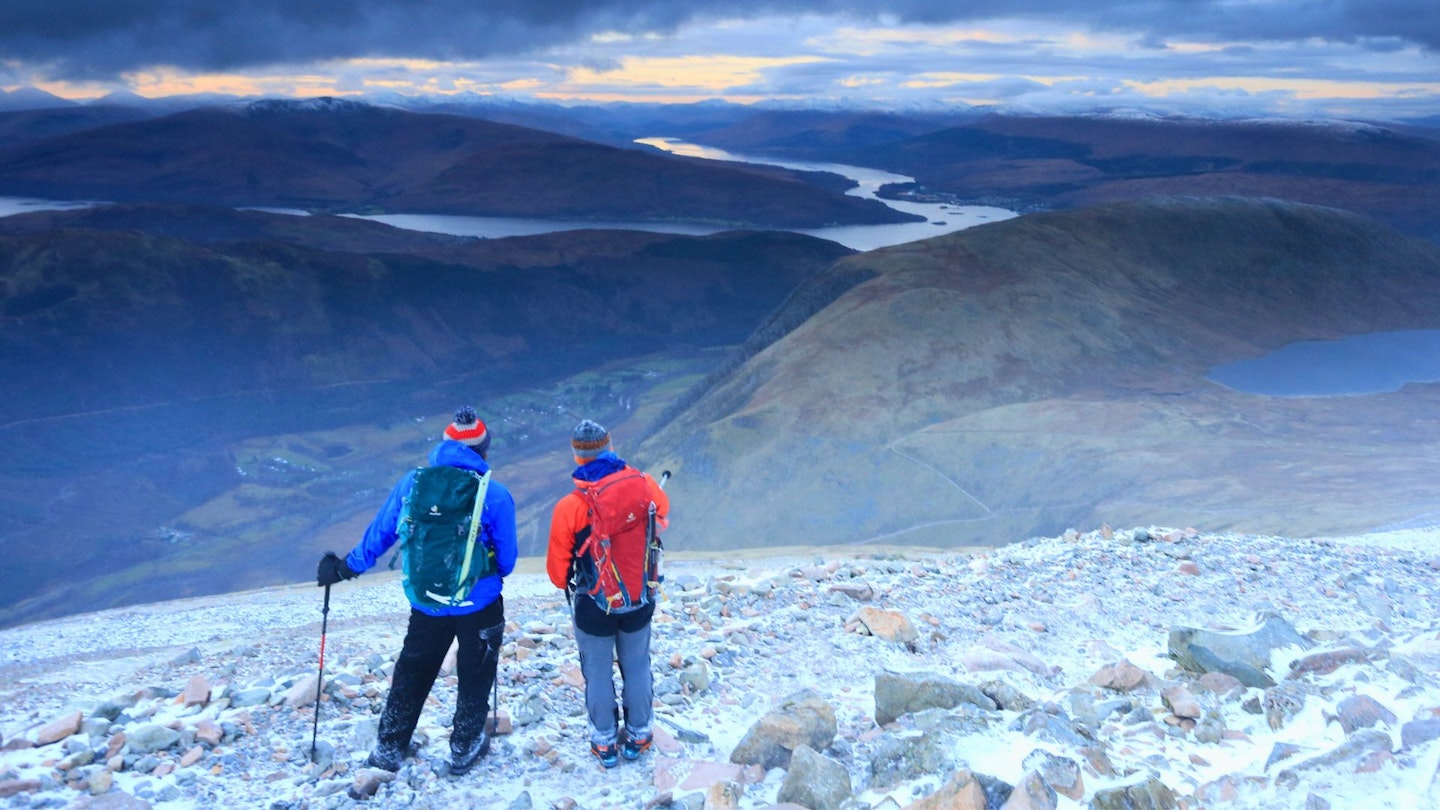
A series of cairns lead across the summit plateau, and hopefully the summit plateau will greet you with pristine snow, blue skies, and crystal visibility.
But odds are cloud will be in, and with spindrift being kicked up by the wind, visibility can be appalling and the cairns barely visible. So, you may need to use your map and compass to take a bearing and get to the summit that way.

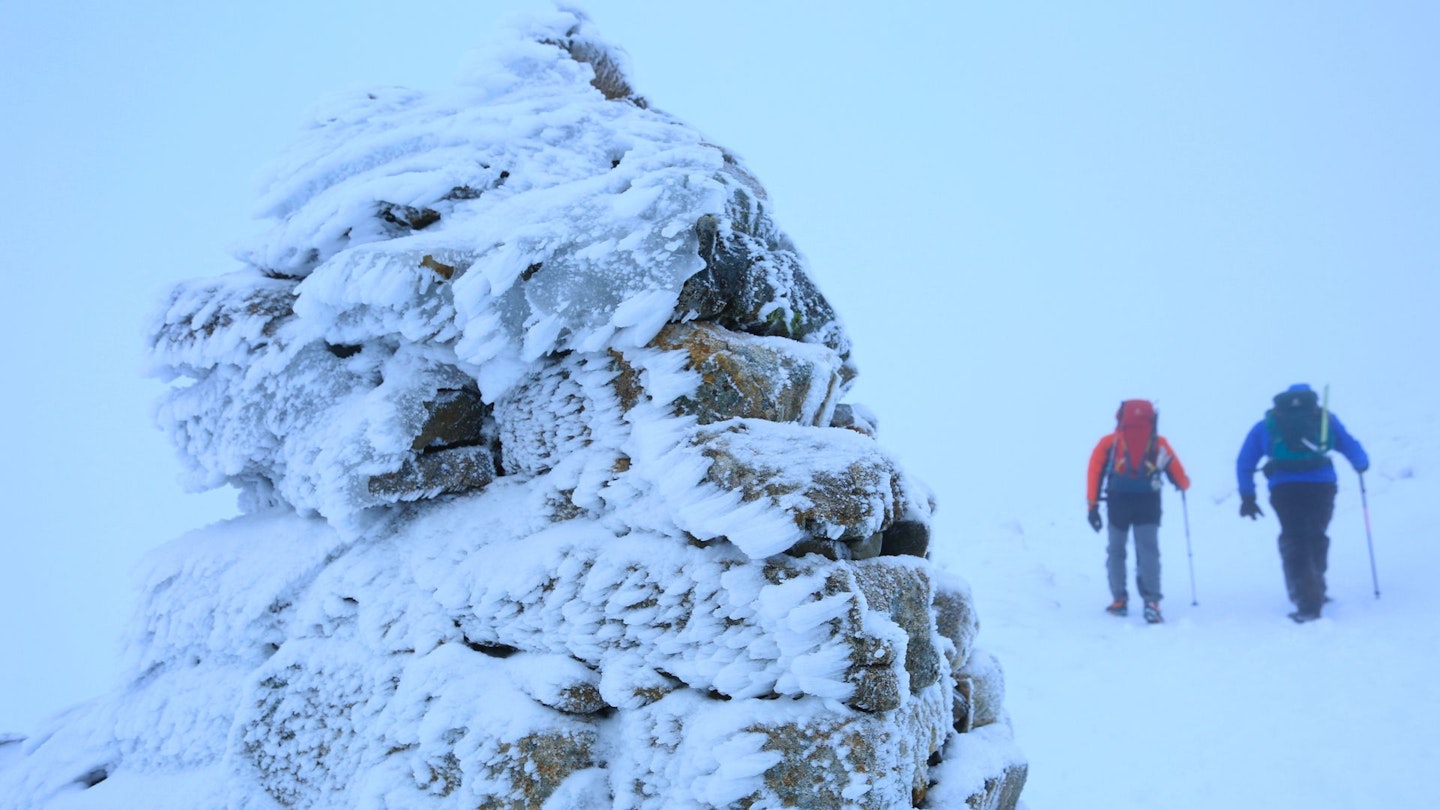
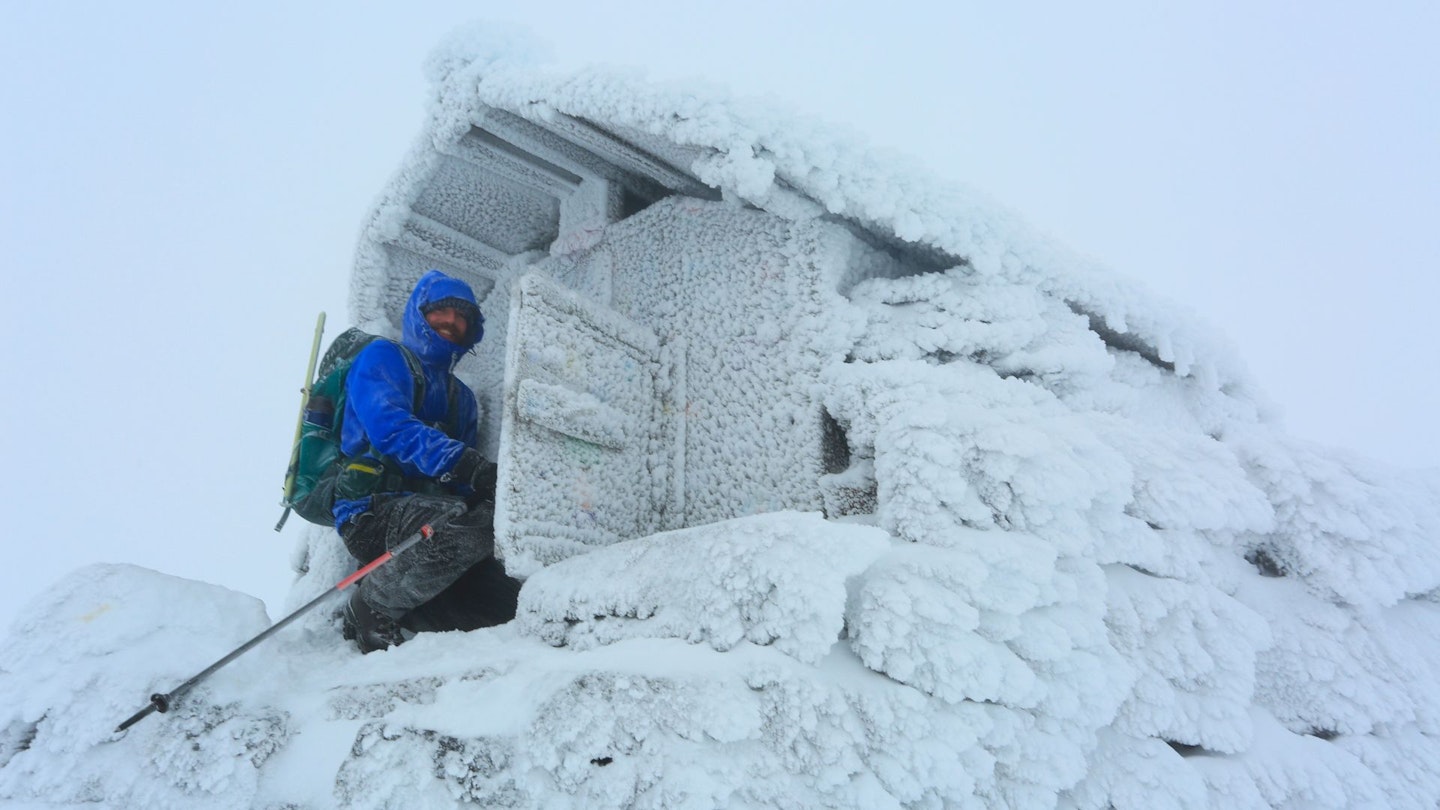
With the snowy summit bagged, head over to the summit shelter for some respite and replenishment before the descent. The shelter elevated off the ground, on top of a mound of rocks. The reason being that in the depths of winter the snow can be metres deep, and the shelter is elevated to stop it being buried.
Winter days are short up on Ben Nevis, and December days are the shortest with sunset occurring well before 4 p.m.
For getting off Ben Nevis in poor visibility, leaving the summit can be tricky. From the summit trig, take a bearing of 231° (almost exactly south-west) and walk on this bearing for 150m.
After pacing this distance, take a bearing of 282° (a little north of due west). A trio of large cairns mark the point where the bearing changes but be aware that they may be hidden in heavy snow or bad visibility.

Keep on the bearing, which will take you on a straight line down the centre of the zigzags. The key here is to avoid veering left and into Five Finger Gully.
Dropping back below the cloud and snowline, you might be lucky to catch the sinking sun – not offering much warmth but heartening nevertheless.
With the light fading fast, a headtorch will very likely be needed. And take it easy coming down the zigzags. The last thing you want is a sprained ankle (or worse) on your way down from the summit.
Top tips for climbing Ben Nevis in winter
-
Check the latest weather and avalanche forecasts and adjust your plans accordingly.
-
Be aware of the shorter daylight hours and always carry a head torch plus a spare.
-
Make sure someone knows the route you're taking and when you’ll return.
-
Be prepared to turn back if needed – Ben Nevis will still be there another day.
-
Make sure you know how to use an ice axe and crampons before attempting a winter route.
-
Consider hiring a Winter Mountain Leader if you’re unsure of your own capabilities.
Essential kit for climbing Ben Nevis in winter
Rucksack (40 litre capacity is about right, and use dry bags to protect everything inside)
Winter hiking boots (stiff soled and crampon compatible)
Crampons (compatible with your boots, plus the knowledge to use them)
Ice axe (basic walking axe is fine, but know how to use it)
Trekking poles (for use before the axe comes into play)
Winter socks (thick and warm, plus a spare pair)
Gaiters (to keep snow out of your boots)
Gloves (thick, with a liner, plus a spare pair)
Walking trousers (quick drying, plus long thermals for extra warmth)
Long-sleeved base layer (merino wool is warm and wicking)
Insulating mid layer (a fleece or light down or synthetic jacket or gilet)
Waterproofs (sturdy hardshell jacket and trousers)
Insulating over jacket (synthetic insulation stays warm when wet)
Warm hat (bobbles are a nuisance under a hood)
Scarf/buff (for keeping your neck to your nose warm)
Goggles (to protect your eyes from spindrift and bright sunlight)
Map and compass (and know how to use them)
GPS (handy in poor visibility, but not a replacement for map and compass)
Head torch (plus a spare, plus spare batteries for both)
First aid kit (doesn’t need to be vast, but should cover the basics)
Emergency shelter (ideal for exposed lunch stops and emergencies)
Watch (keeping track of time is important)
Mobile phone (keep it warm on your body to preserve the battery)
Camera (the scenery may well be spectacular)
Food (take more than usual as the cold burns more calories)
Liquid (it’s important to stay hydrated and a hot drink is a great pick-me-up)
Useful winter hillwalking links
The British Mountaineering Council: Essential winter know-how
Mountaineering Scotland: ThinkWINTER - safety and skills
Mountain Weather Information Service: mwis.org.uk
Scottish Avalanche Information Service: sais.gov.uk
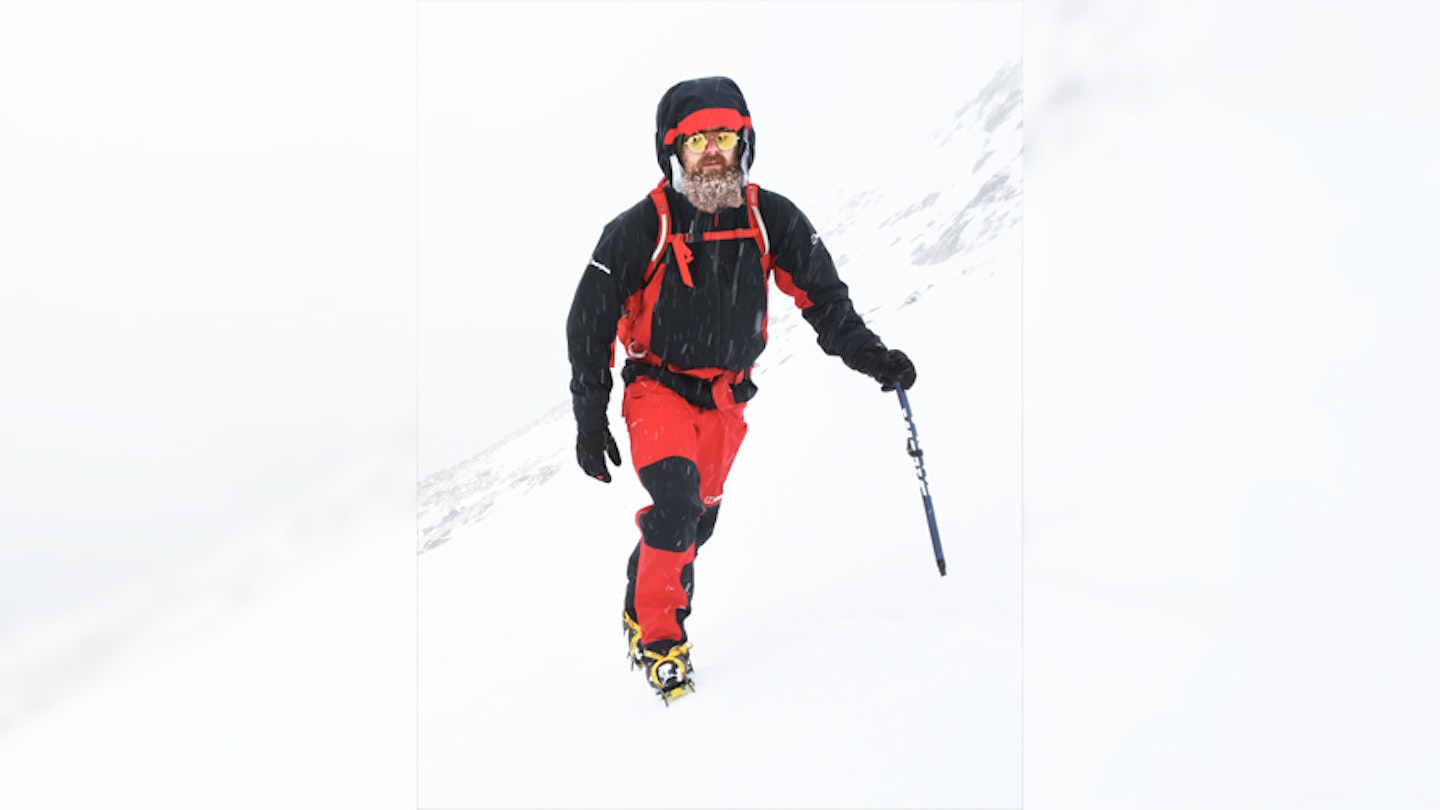
Ben Weeks (above) is Trail Magazine's Gear Editor and has been with Trail and LFTO for over 10 years. Ben is a qualified Mountain Leader and Climbing Instructor.