If you walk in the mountains regularly then you’ve probably already been scrambling – you just didn’t realise it. Scrambling describes the middle ground between walking and climbing, and a feature of many of our favourite hillwalks.
What is scrambling?

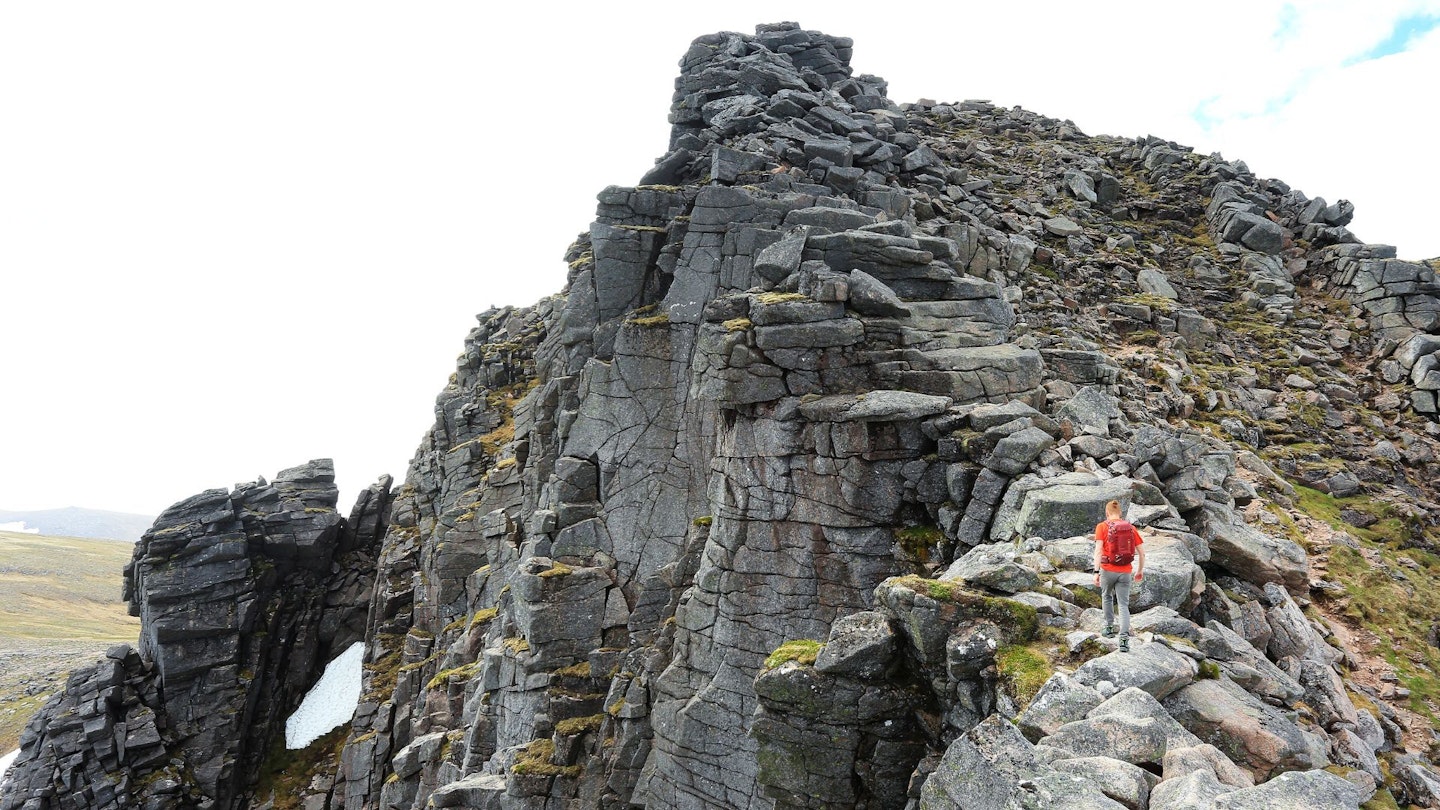
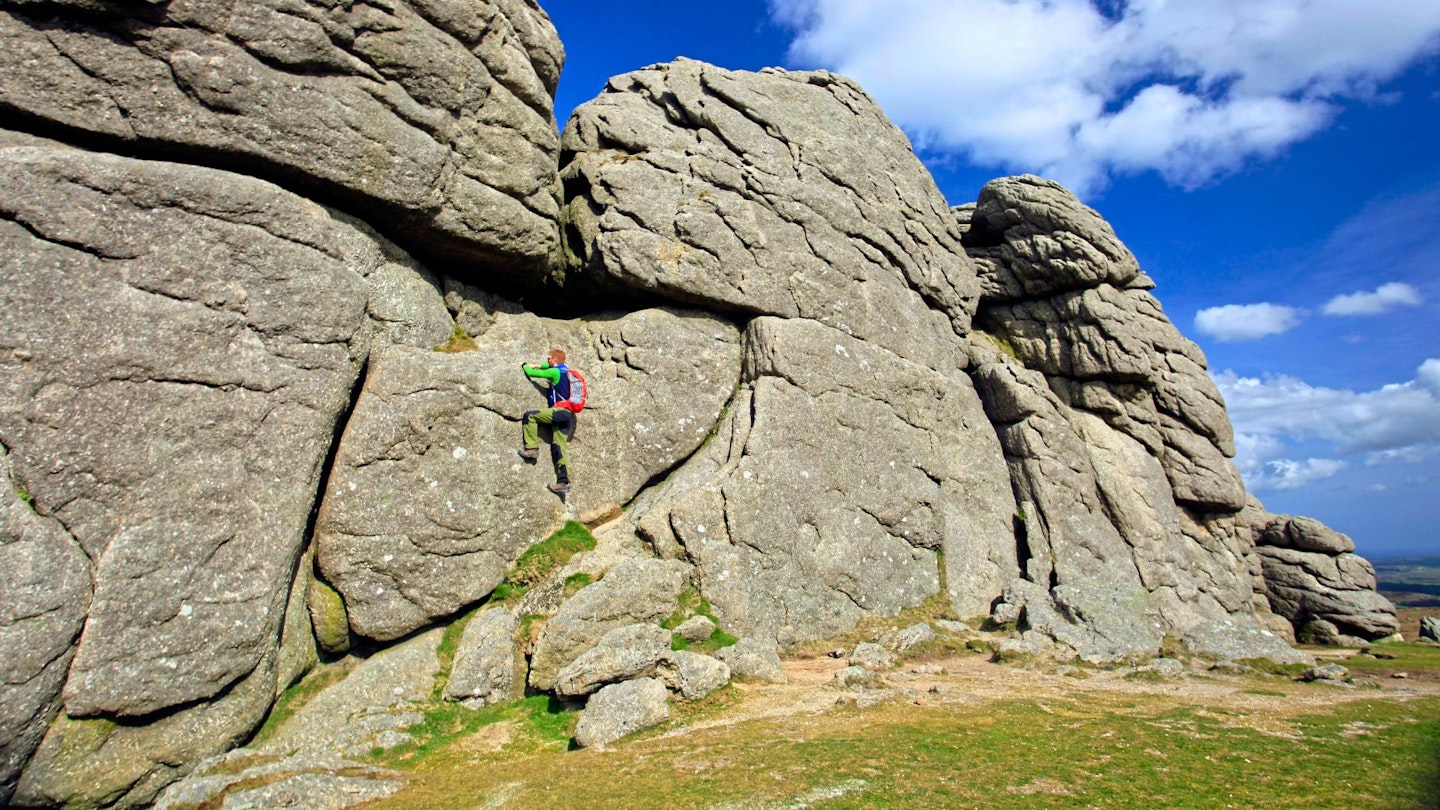
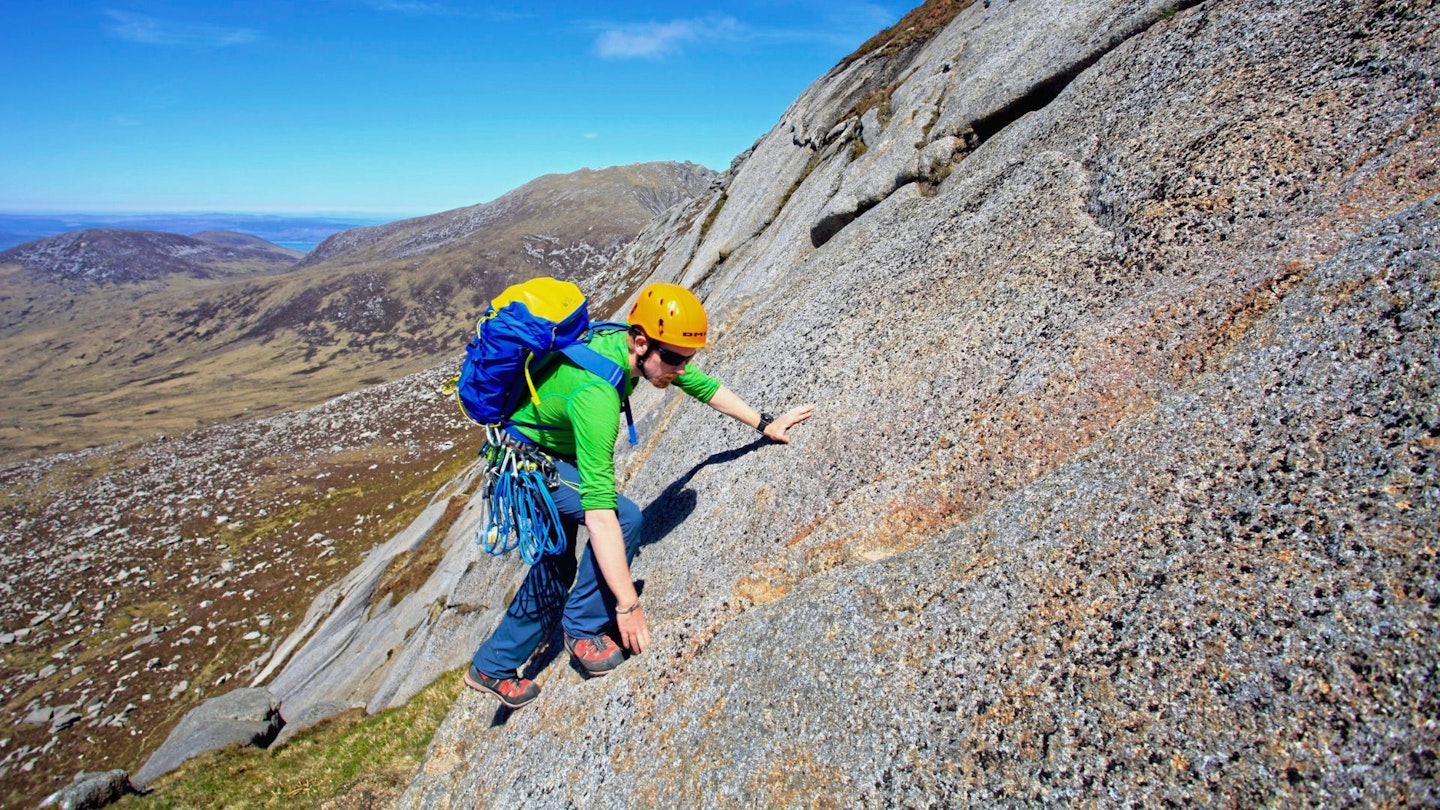
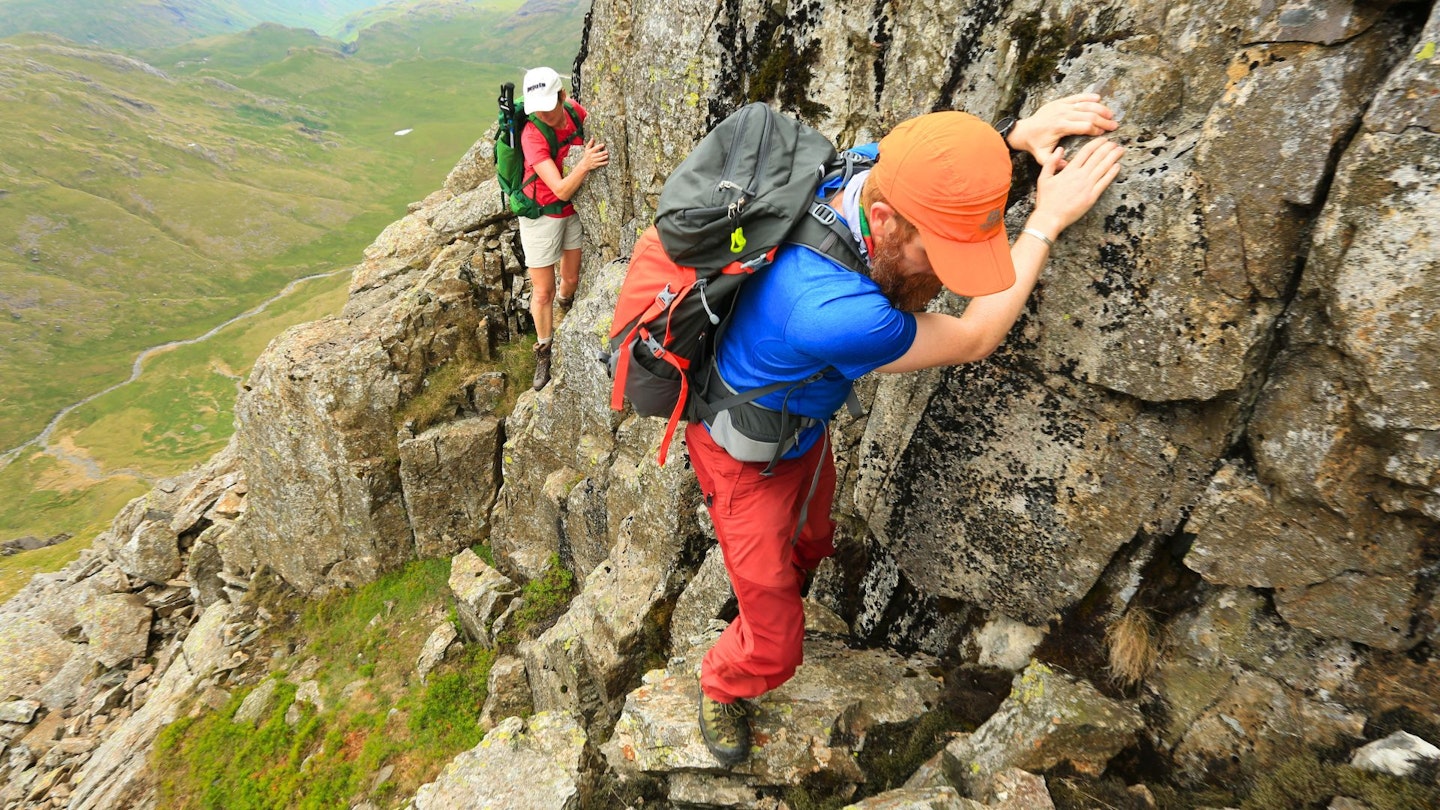
Scrambling tackles the middle ground between walking and rock climbing and can be loosely defined, in its simplest form perhaps, as getting hands-on with rock.
As an outdoor pursuit, scrambling is a fantastic way to test yourself on the hill, keep fit and unlock new parts of a mountainous landscape you might not otherwise get to explore.
How safe is scrambling?
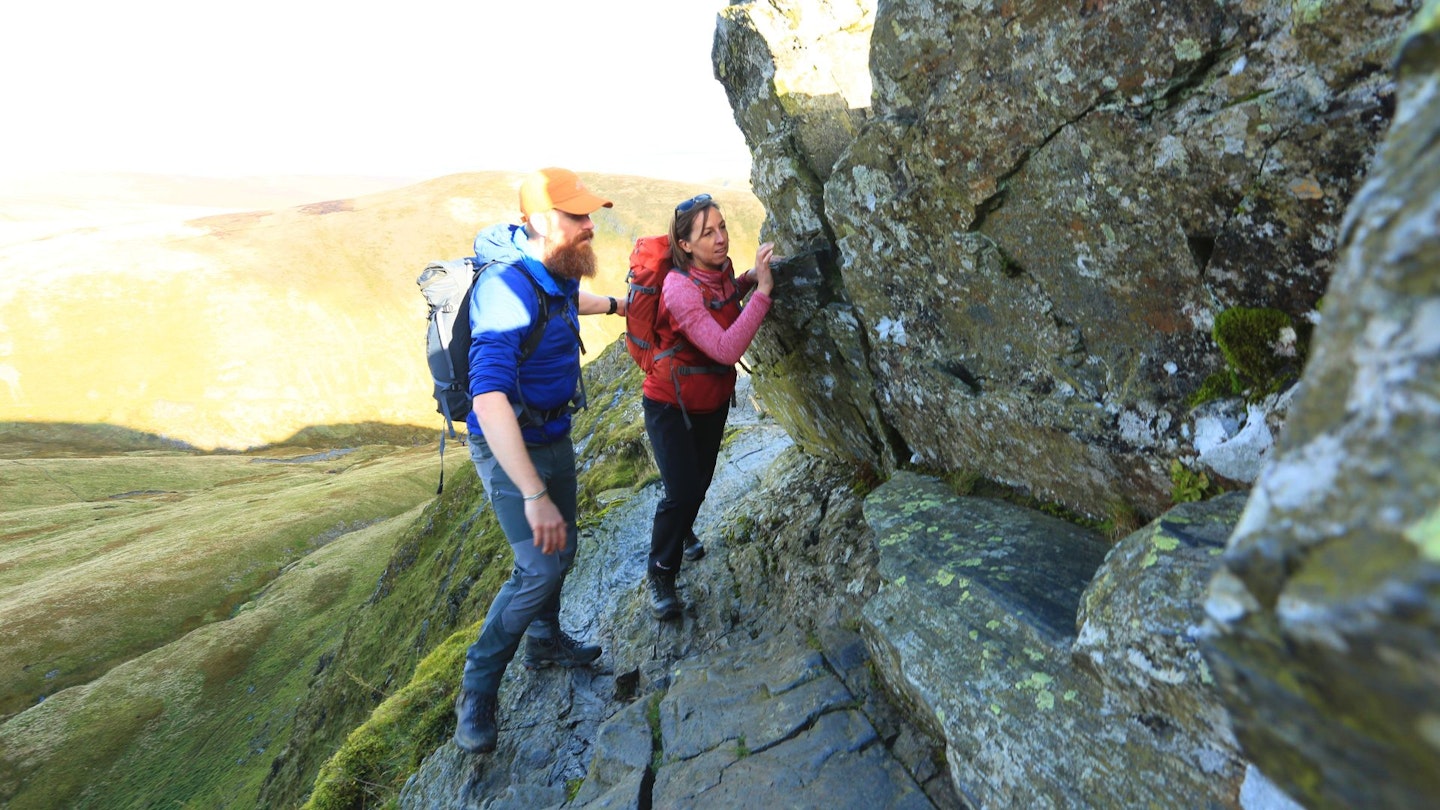
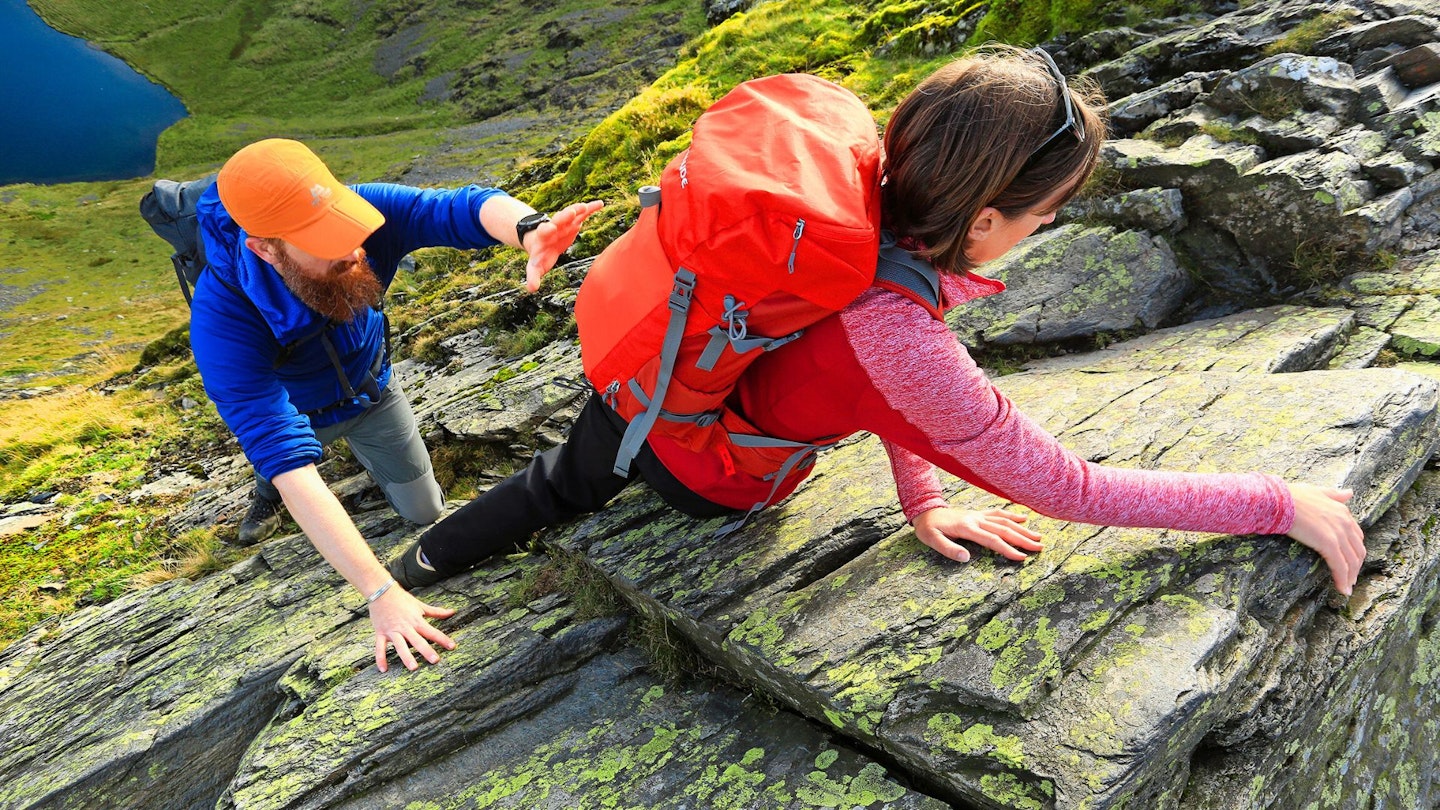
Climb up into scrambling terrain and you enter a realm with real consequences to a simple slip. The very best way to safeguard against this, and to move smoothly and efficiently through steeper terrain, is through good movement.
Essential basic skills (which we cover in this article) remain applicable whatever the grade. These are based on good balance and footwork – the foundations of moving well on scrambling terrain.
Scrambling grades
Scrambling routes are graded in terms of difficulty, starting at Grade 1 up to Grade 3. Grade 1 routes are generally the domain of the hillwalker, while Grades 2 and 3 tend to involve specialist equipment usually associated with rock climbing, such as ropes, helmets and harnesses.
Grade 1
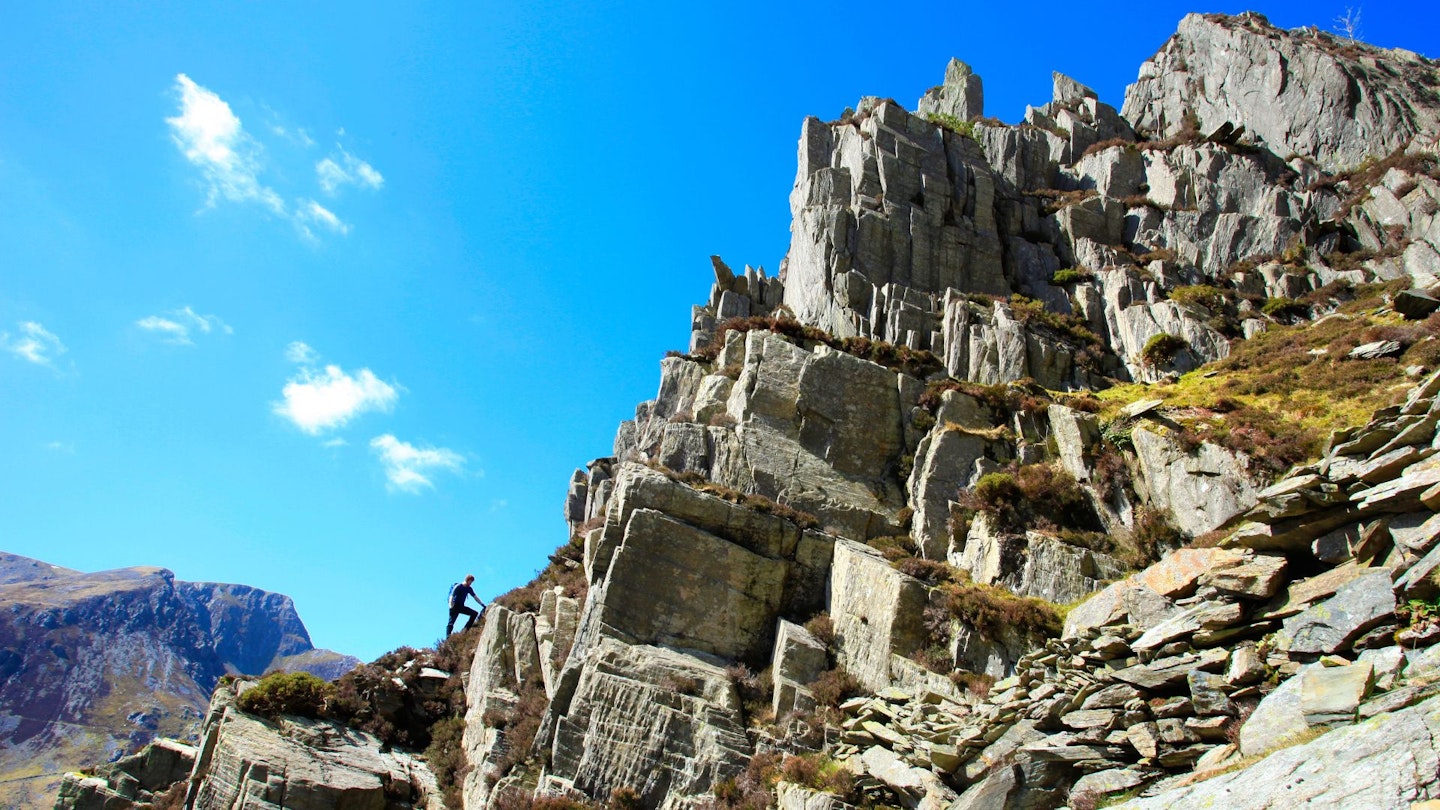
These are generally straightforward with no route-finding problems. Some exposure and simple moves that experienced hillwalkers should have no problems dealing with.
Example of Grade 1 scrambles: North Ridge of Tryfan (Snowdonia), Crib Goch (Snowdonia), Striding Edge (Helvellyn), and Sharp Edge (Blencathra).
Grade 2

Grade 2 involves more difficult route finding and holds that are less obvious or frequent. Some difficult moves and exposure.
Examples of Grade 2 scrambles: Aonach Eagach (Glen Coe), Pinnacle Ridge (Snowdonia), Bristly Ridge (Snowdonia), and The Horns of Alligin (Torridon).
Grade 3
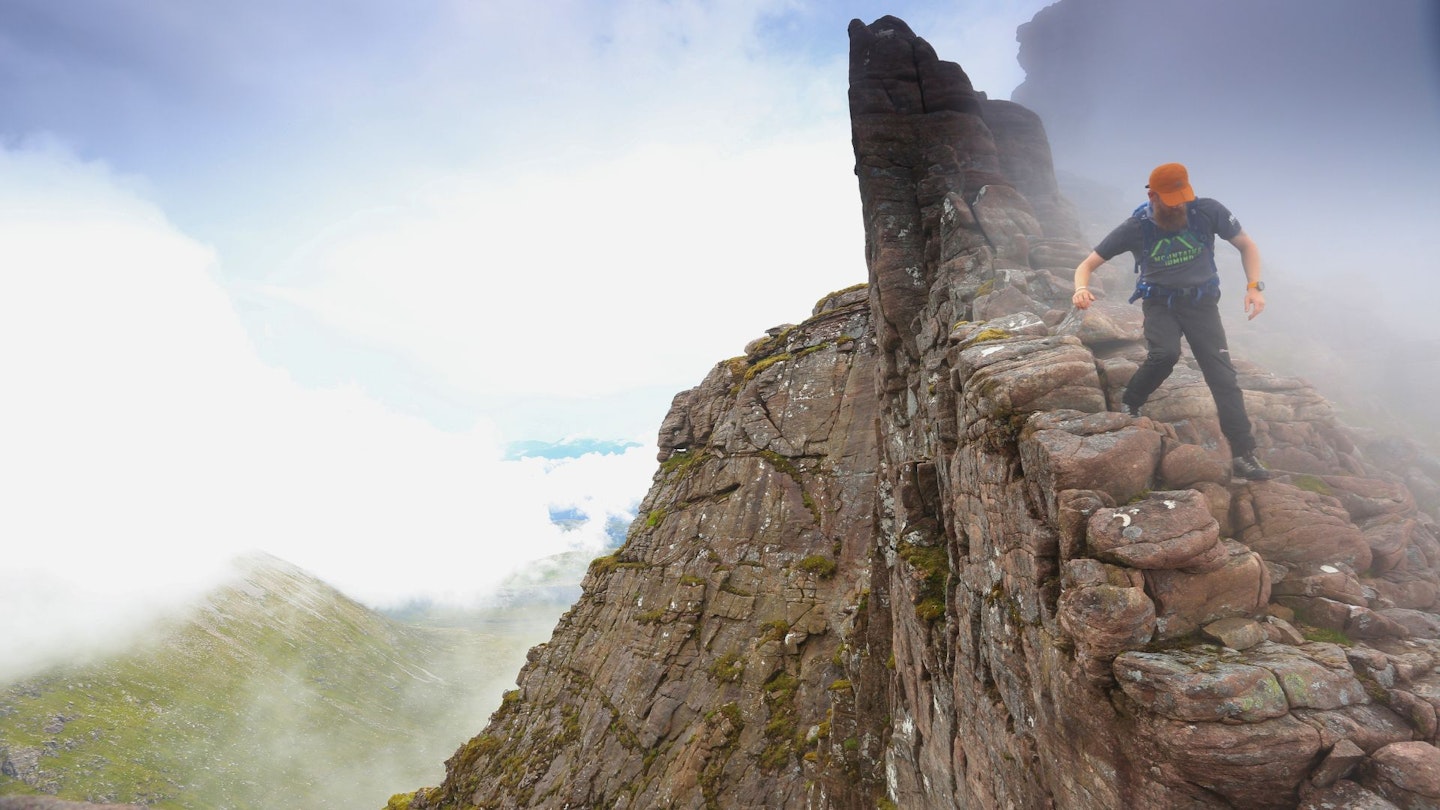
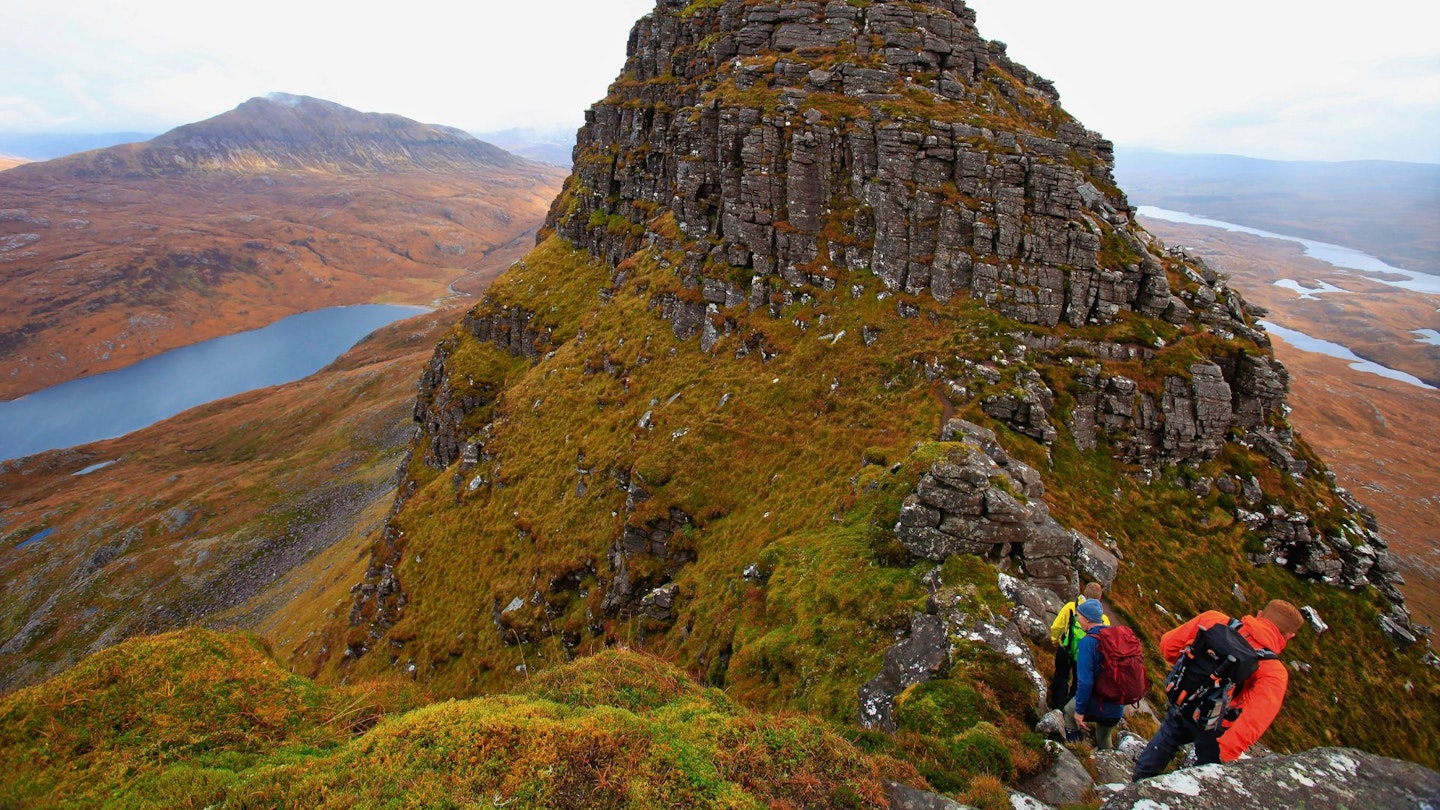
Here, route-finding, exposure and technical difficulty become serious. A rope and suitable skills should be considered for some pitches.
Examples of Grade 3 scrambles: Pinnacle Ridge (Lake District), An Teallach (Northwest Highlands), Wildboar Clough (Peak District), and Stac Pollaidh (Northwest Highlands).
Scrambling skills and safety
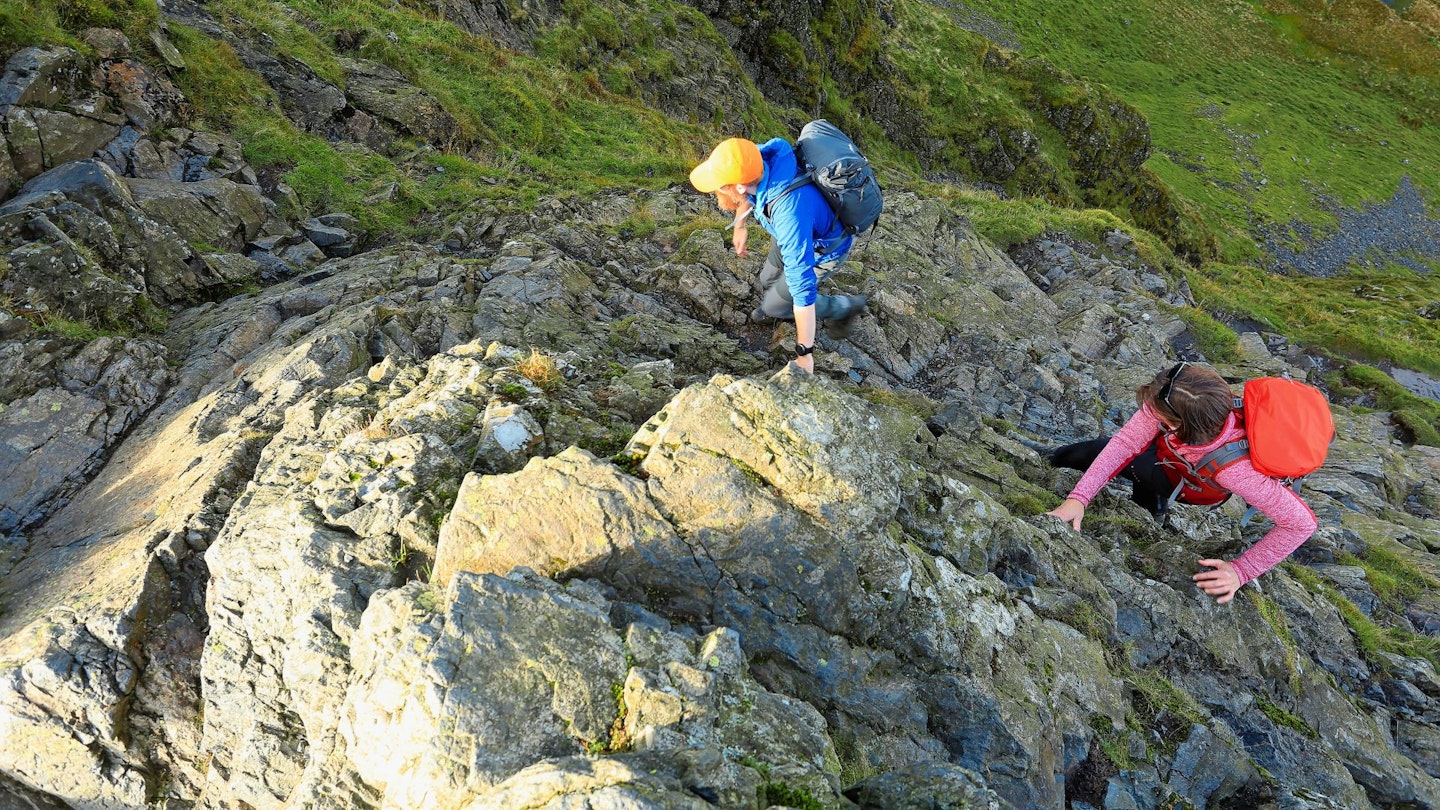
Humans are natural climbers and we will instinctively make use of our hands to help with balance. Most people can tackle Grade 1 scrambles without too much effort. However, harder scrambles of Grade 2 and 3 will involve holds that require slightly unnatural techniques and sections of steep rock that involve complex and convoluted movements.
Be aware that when stressed you will revert to a baseline level of performance. In stressful situations we don’t rise to the level of training we have received, but instead we descend to the level of training we have mastered. This means that you need to get mileage on scrambling terrain to move safely and efficiently over it and, in an ideal world, you want to do this in a progressive way.
Look to gain variety in as many types of terrain as possible. Explore ridges and gullies, slabs and steps and get out in the wet as well as the dry. You will find that friction varies on differing rock types and variety is the key to improvement. Remember, scrambling is about fun, so enjoy the journey along the way.
Skill level for scrambling
Having a good base level of skill and fitness whilst out in the hills will allow you to operate safely.
If you plan to climb Grade 2 scrambles on the hill, the ability to do easy rock climbs will give you that confidence-boosting excess of skills. Signing up for an entry-level course at an indoor climbing wall, even if you never intend to rock climb outside, will increase your scrambling skills hugely. Alternatively, during the colder season, you could attend an outside scrambling course – having expert tuition when conditions are less than ideal (wet and cold rock, for example) will massively expand your skill set.
But greenhorns should also note that dealing with exposure is as much about mental focus as it is physical ability. It’s this side of the skillset that comes from experience, which is why you work your way up the scrambling grades.
Learn to route-find
Success or failure on a scramble can often be determined by locating the correct hold at a key section. Micro route-finding problems in these moments are too small to be resolved by a map, so instead you must use your own problem-solving skills.
Before you set off check your route, as well as possible escape options. Many hikers hear about scrambles through word of mouth, so speak to scramblers and climbers with previous experience of the route.
During your scramble, always search for indicators of past traffic. Look at the rocks for signs of polishing or crampon marks. But also be aware some of these routes can be false paths that may lead towards a dead end – for this reason you should never commit to a sequence of moves you can’t easily reverse.
If confronted by a problem, always cast about for alternate lines or bypass routes. Often you can be blinded by what is in front of you and miss less obvious but correct routes to one side.
Learn how to identify dodgy terrain
Although scrambling routes are less steep and technical than rock climbs, it doesn’t make them any safer. In fact, it could be argued rock climbing on steep, clean rock with the protection of ropes is safer than scrambling over less vertical but broken terrain.
If a loose hold breaks on you whilst rock climbing, you should end up dangling safely at the end of a rope. However, do the same whilst scrambling and you could end up bouncing hundreds of feet to the bottom of a cliff.
For this reason, it is important to understand the reliability and stability of the terrain you are proposing to scramble over. Testing holds before you load weight onto them should be instinctive.
It’s also vital to understand how the elements can affect scrambling. For example, after a hard winter of freeze-thaw weather patterns, the risk of rockfall can be much higher, even on well-trafficked routes. In humid conditions, holds that would otherwise be grippy can become slick and unreliable. And after heavy rain, saturated rock and earth ledges can collapse when loaded with bodyweight.
Do you need rope and a helmet?
Most scrambles are achieved without rope. But there is an asterisk that follows. Rope can and should be used if you’re tackling a particularly gnarly scramble that requires it, or if your leader thinks it may be necessary for less confident members of the group. Regarding that latter point, there shouldn’t be any intention to use rope or rely on its application, but it’s good to have just in case.
Where there is potential danger from above, use of a helmet on scrambles is advisable. This could mean rocky protrusions that knock you off balance, or a rock coming down from above dislodged by another scrambler. On a scramble that is entirely ridge-crest, it may not be appropriate on the scramble but might be on the approach. It’s a case-by-case consideration but check the terrain, and if in doubt, wear one.
Scrambling techniques
Footwork
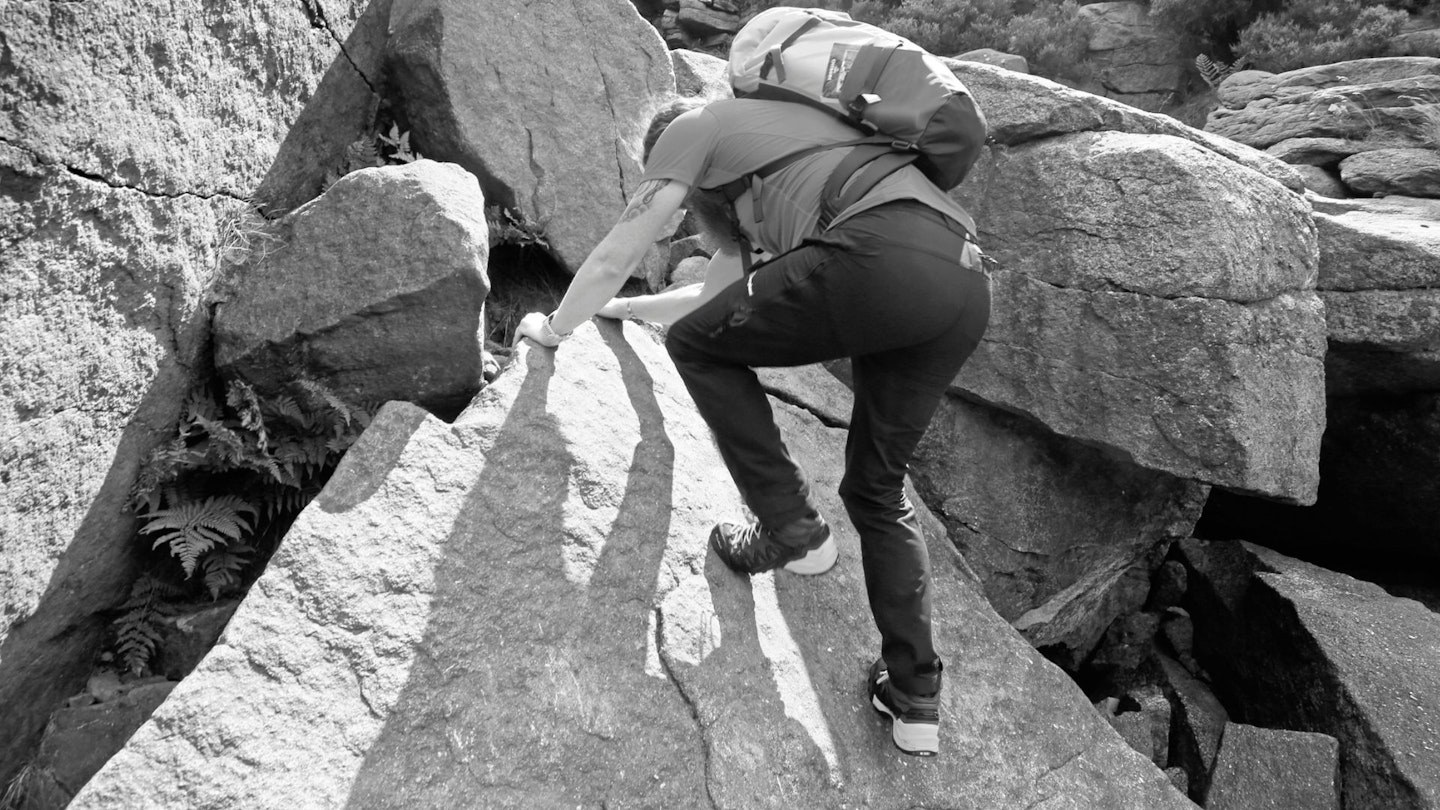
All upward progress should come from pushing through your legs, not pulling on your arms. Legs are considerably stronger than arms, so use them for momentum. There are three main styles of foot placement:
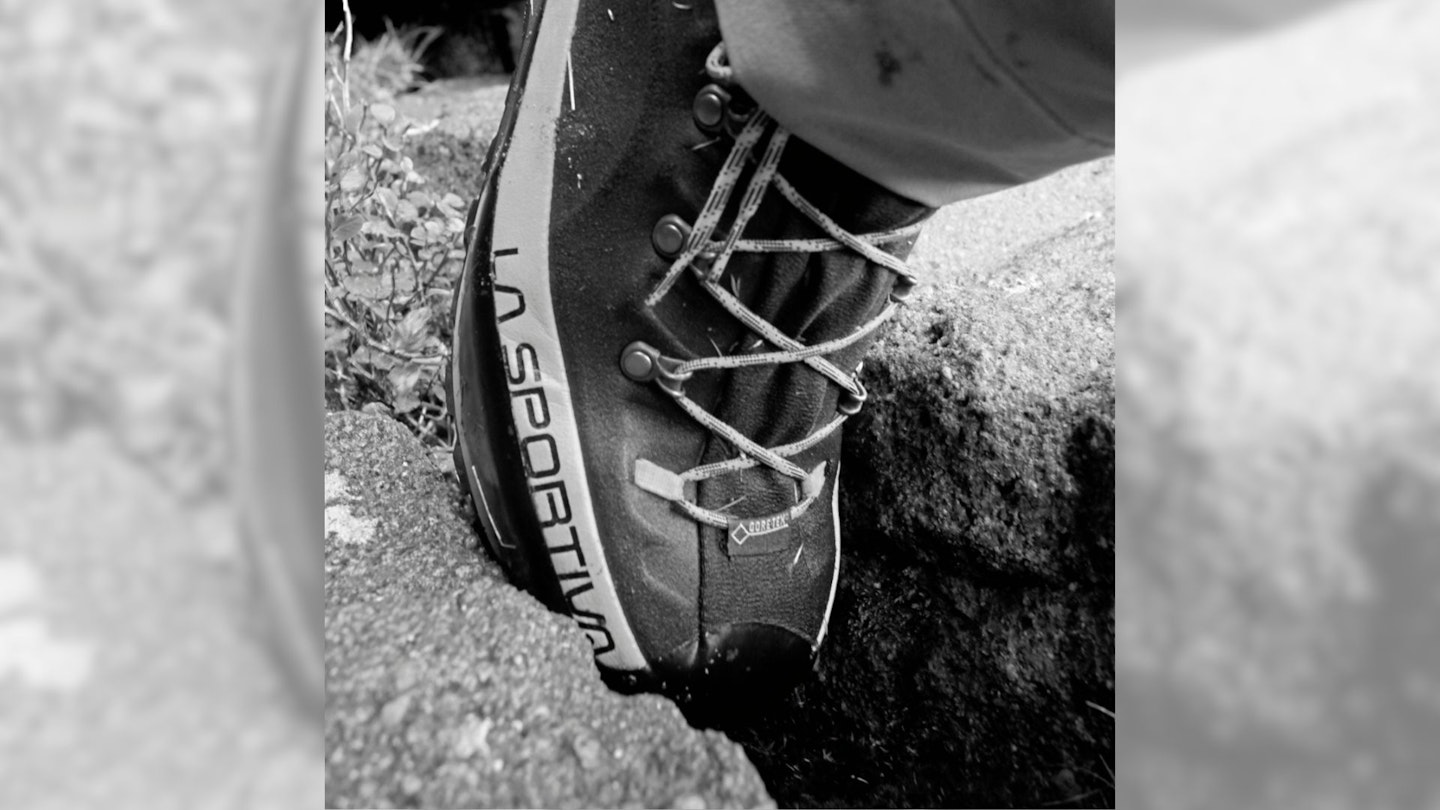
Smearing: This is using the friction of your boot against smooth, angled rock surface when climbing. The stickier the rubber on your boots, the greater the angle you will be able to stand on. Experiment somewhere safe with how steep an angle you can walk on in ascent and descent, and how this varies on different rock and in the wet. Aim to keep as much rubber in contact with the rock as possible, and to stay upright on your feet so that your weight pushes down into the rock.
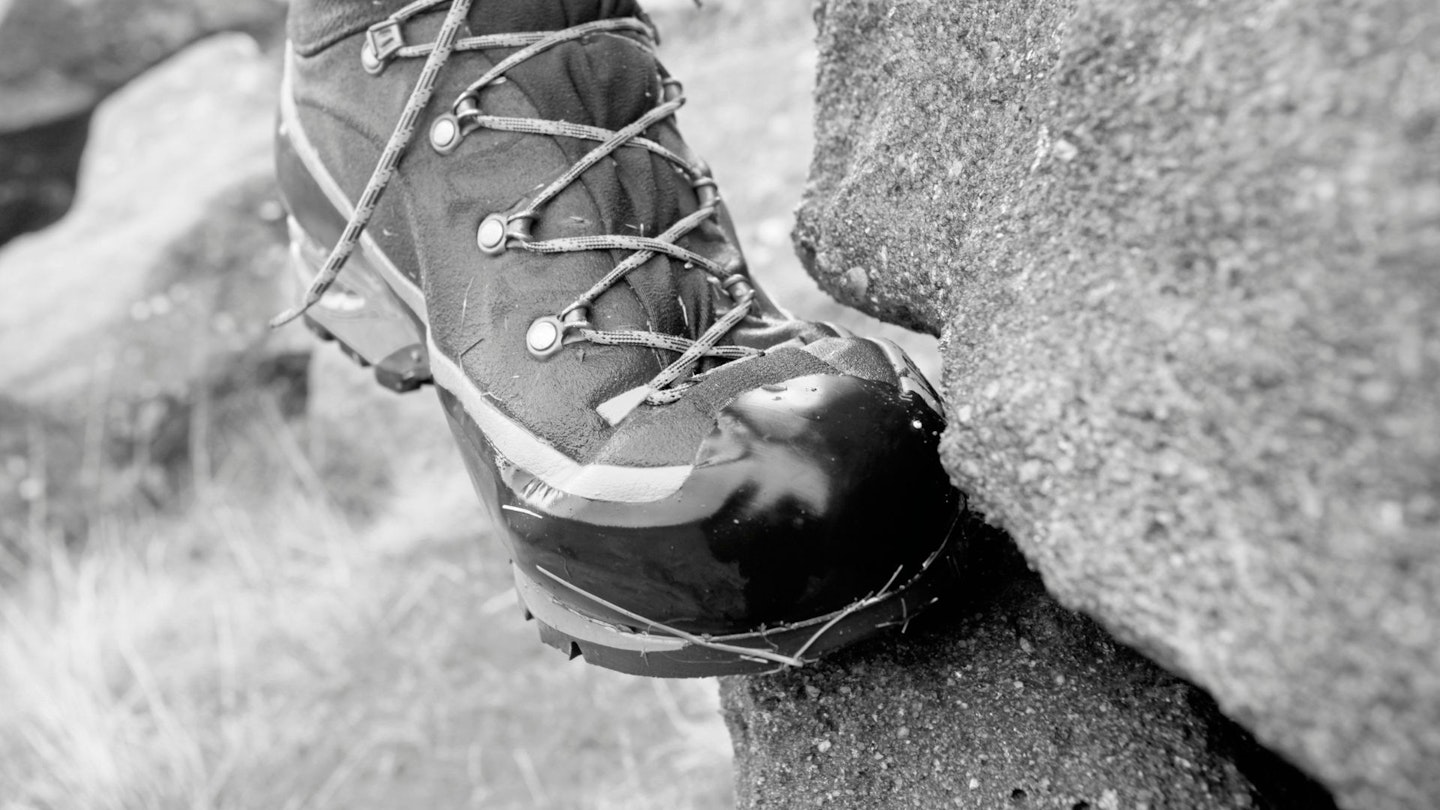
Edging: This describes the use of small edges as footholds. Modern scrambling boots often have a ‘climbing zone’ on the sole that is smooth rubber and sits under the big toe. Aim to place this on the edge you are using as a foothold and experiment with how small a hold you can use. You will find that crimping your toes will strengthen your foot placement if you are wearing quite flexible boots. Stiffer boots will be better for edging but not as good for smearing.
Wedging: This is as simple as wedging your foot in a crack (the obvious downside being that it can then sometimes be difficult to remove your foot again). It gives a wonderfully secure placement that can be especially welcome in the wet.
Movement
Having recognised the types of foot placement available we can then think about our movement skills. This will help you make best use of the placements and keep your balance as you move through what can be very awkward terrain. Here are a few techniques to play around with. Practise on ground with little consequence first.
Small steps: Keep your cadence at a steady pace but halve the length of your stride. This is a great way of slowing down, being more efficient in your movement and keeping your balance centralised.
Delicate steps: Common and useful scrambling advice refers to walking ‘quietly’. The reason for this is because it helps you to focus on each foot placement, making them more precise.
Nose over big toe: When you are standing in balance you will naturally have your nose over the big toe of the foot that you are standing on. A common tendency when intimidated by exposure is to lean into the rock too much. This can push your feet out from the rock.
However, lean back too much and you risk toppling over backwards – this can be exaggerated by a rucksack. Keeping your nose over the big toe of the lead foot will help avoid both of these situations.
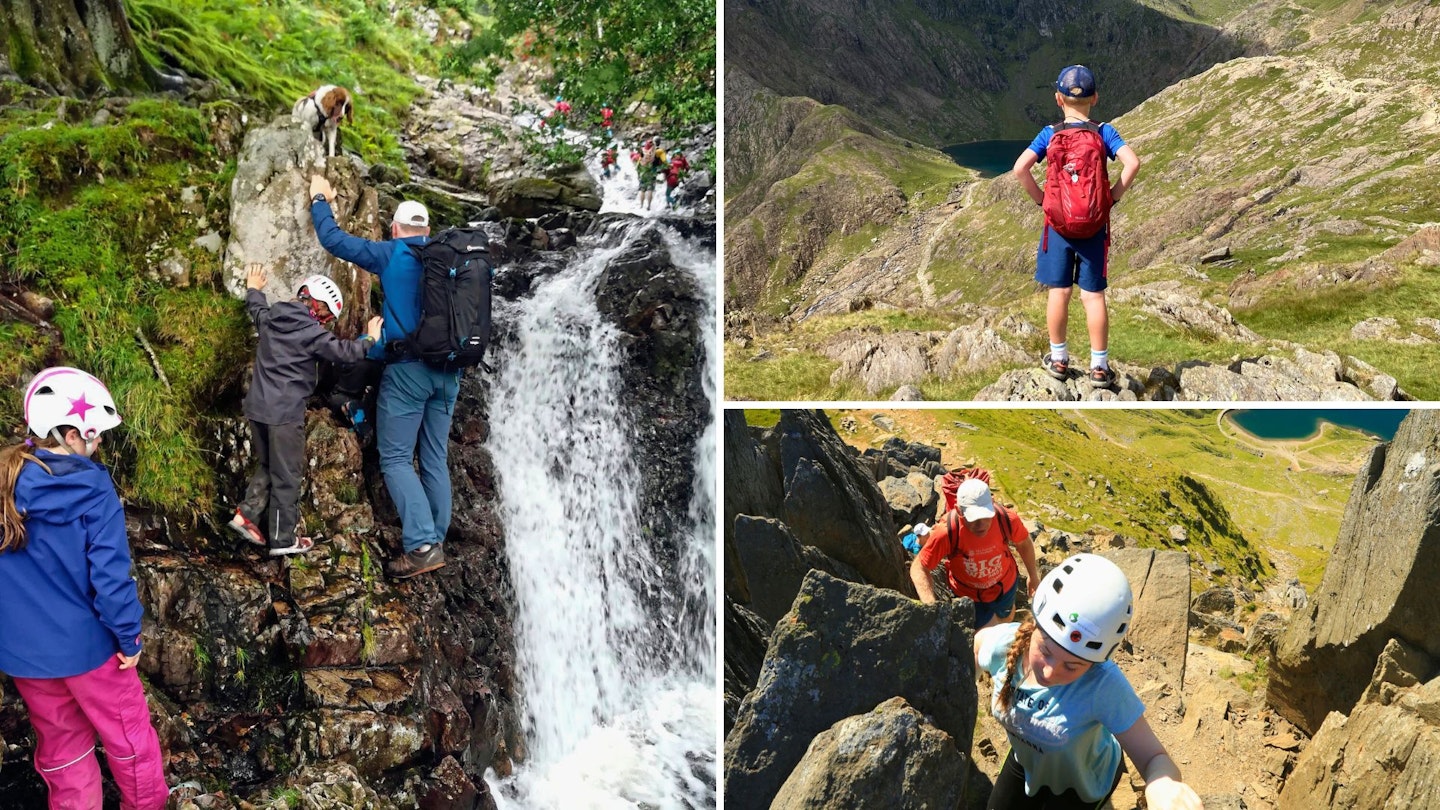
Scrambling with kids
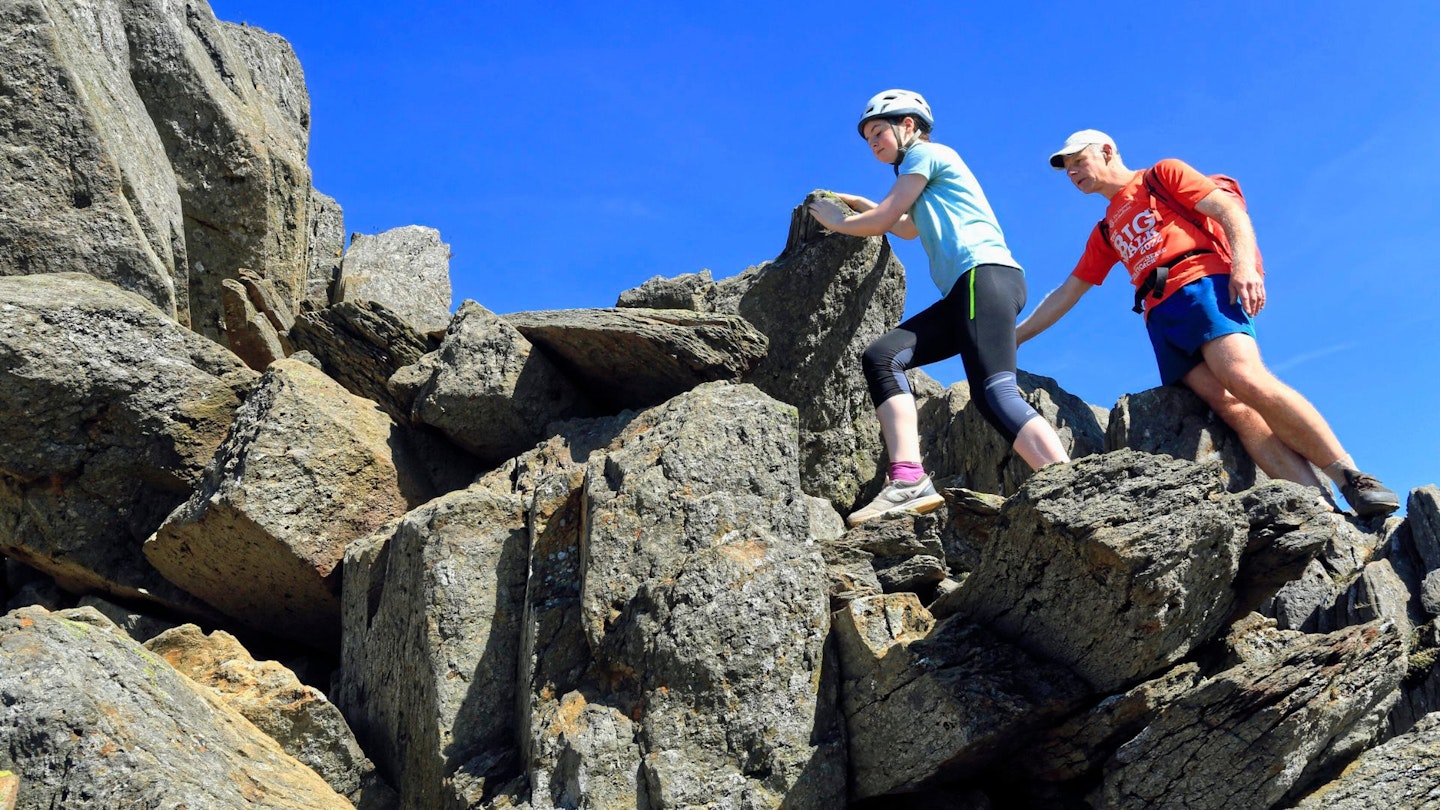
You’re probably itching to get the family into the mountains during the holidays, and there’s no better way to make your kids feel invincible than embarking on a scrambling adventure. Children are natural climbers, so scrambling seems like a natural way to get your kids up a hill or mountain.
But scrambling with children demands careful planning. Use our tips below to help with that.
Experience over age
With scrambling, as with any outdoor activity or adventure, age has nothing to do with it. In the outdoors we have three key variables to line up: people, the terrain and the weather.
Depending on what experience people have had determines how best they can access the outdoors safely. Similarly, if you choose the right route for your first scrambling adventure and go when the weather is good, these factors become bigger considerations than simply age.
Stick to routes you know
When you first take your children scrambling, don’t pioneer new routes with them. Make sure that the ground you’re covering is ground you know like the back of your hand. Know where the route goes, know the hazards (and how you will manage them), know the tricky bits and know where you can escape the route.
Know where your children might need a bit of extra support, know where you will need to position yourself at these moments, know where they (or you) might climb out of sight. Essentially, know before you go.
Work completely in your comfort zone so you can turn all your attention to your climbing child.
Escape routes
Having an out is essential for scrambling with kids, even if they’re confident at height or have a good background with climbing. Steer clear (initially at least) of routes with ridges. Crib Goch, for example, offers no escape once you’re up there. Likewise with Jack’s Rake.
Only go in good weather
For us, wind and rain often rule out scrambling with kids. Rain can make things slippery and miserable. Wind can be a danger too.
Look at the weather forecast and also consider the direction of wind as well as the speed and force. A wind gusting at 15mph across your line of climb can lift a small child off the mountain altogether.
Keeping warm
Children are far more susceptible to the cold than adults – they are more likely to suffer from hypothermia than we are.
Be sure when scrambling in ghylls or near water to have spare clothes ready in a dry bag. Hot drinks and sugary snacks are also good energy sources for your kids to metabolise energy into heat if they get wet.

No rope
When you’re scrambling on tougher terrain, as well as having good technical rope and climbing skills, you need to be able to read the ground and know the abilities of the people you’re with.
With kids in tow the responsibility is really ramped up. So, if you’re questioning if you need a rope for a route, either you need more experience/ training, or the route is totally inappropriate.
Kid-friendly scrambles
Cat Bells, Lake District – Cat Bells is a great (busy popular and often busy) way to see how they’ll deal with a bit of steeper terrain without things getting too serious. It’s easier than a Grade 1 scramble, but it will keep them entertained without the big walk in.
Striding Edge, Helvellyn – This is often seen as harder and more exposed than it actually is. In reality it’s a great way for anyone to ascend to the top of England’s third highest mountain.
Y Gribin, Snowdon – If you aren’t keen to join the train of tourists on the Miner’s Track, Y Gribin Ridge is an alternative. Once at the top of the ridge, shun Yr Wyddfa and head left from the grassy saddle to seek out further Grade 1 scrambling as you climb Y Lliwedd.